Tools
Parts
No parts specified.
-
-
Click file: New
-
Open a document, the size doesn't matter for this page, we just want access to our workspace.
-
A blank page should open, you will now have access to all of Adobe Illustrator's (AI) tools.
-
-
-
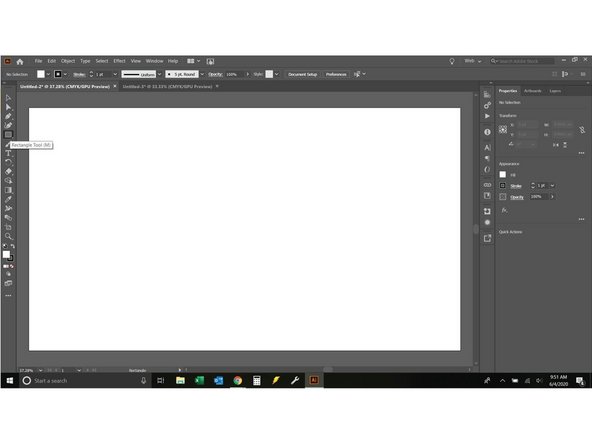
On the left side of the screen (highlighted in orange) is the toolbar. It contains the basic shape, drawing, and selection tools used in AI
-
Some tool slots have multiple tools hidden in them. Any slot which has a triangle at the bottom right can be click+hold to see the other tool options. (See second image)
-
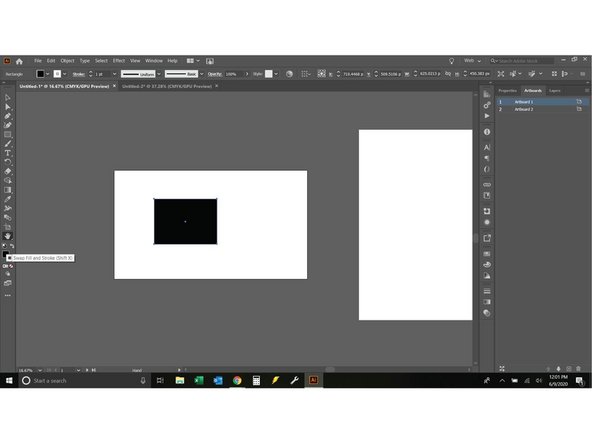
The white space in the middle of the screen is the Artboard. The Artboard is surrounded by a gray border, that gray area and the Artboard make up the workspace. Anything that is on the Artboard will be show up when you export the file, anything that is not on the Artboard will be invisible.
-
You can zoom in and out by holding alt and moving the mouse wheel to get more or less gray space or to focus on details.
-
-
-
The first two tools on the toolbar are the selection tools.
-
The first selection tool is the selection tool ( Hotkey (V) this means if you have nothing selected you can type "v" and you will get this tool).
-
This tool will feel the most familiar, it will grab items on the workspace. You can click and hold to make boxes to select multiple items.
-
You can also hold CTRL and single click to grab multiple items.
-
The next tool is the Direct Selection Tool. It will allow you to grab a single point on an object and manipulate it.
-
If you click+hold the direct selection tool you will see 2 more tools hidden here, the group selection tool and the lasso tool.
-
The group selection tool is used when objects are grouped together, objects must be grouped for it to work.
-
The lasso tool allows you to draw a shape around whatever objects, or parts of objects you want to select.
-
-
-
To understand how these tools work, first we need to have something on the page to work with.
-
Start by clicking the rectangle tool on the toolbar. (First image)
-
Draw a rectangle by click+hold and drag the pointer across the screen (size and shape are arbitrary).
-
Note if you hold SHIFT the rectangle will always be a square. If you hold ALT the square will keep its center where you started it from.
-
Now click and hold the rectangle tool. You will see 4 more tools hidden here. The ellipse tool, Polygon tool, Star tool, and Line Segment tool .
-
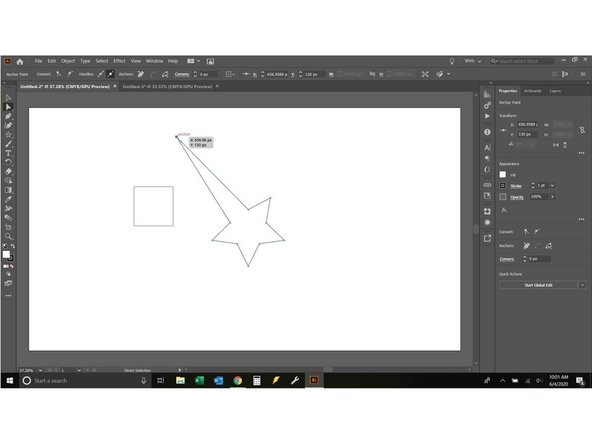
Click on the Star tool, then single click on the workspace. A new menu pops up (image 2). This menu will occur with any of the shapes, it allows you to set the shape and size of the object, and in the case of a star the number of points. It will allow you to choose the number of sides for a polygon as well. Create a star.
-
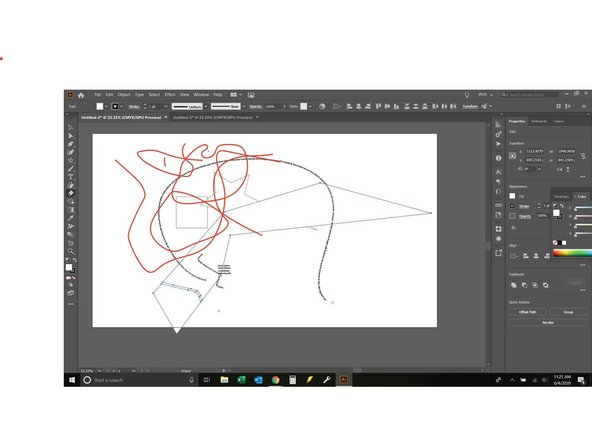
Now that you have a couple of shapes you can grab and move them with the Selection Tool. You can also try using the direct selection tool to grab an anchor point on any of the shapes and stretch it where you want. (Image 3)
-
You can also use the selection tools to delete an object or anchor point. Give this a try. When your done just hit CTRL+Z to undo what you have done. You can undo as many steps as you like. If you want to redo any steps just hit SHIFT+CTRL+Z and it will come back.
-
-
-
The next two tools are the Pen tools.
-
The pen tool is a powerful ally in illustrator, spend some time with this one to understand how it works.
-
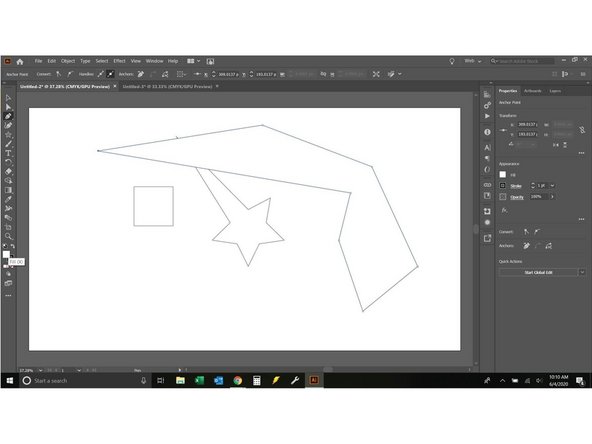
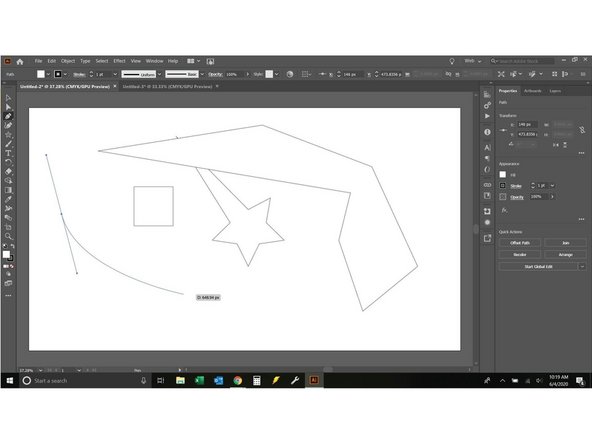
If you click two points on the workspace with the pen tool it will automatically generate a straight line. As long as you continue clicking around the page it will continue generating lines until you close the shape by clicking your first point. If you want to stop at any time just hit the ESC key and it will stop generating new lines.
-
If you stop generating new lines the shape will automatically close.
-
You may have noticed as your clicking around that some of your other shapes have disapeared. This happens because the default setting in AI is to fill any shape in white.
-
Click the fill button (image 1) then click the small white box with the red slash in it to the lower right. This will remove the fill and allow you to see what is below your new drawing.
-
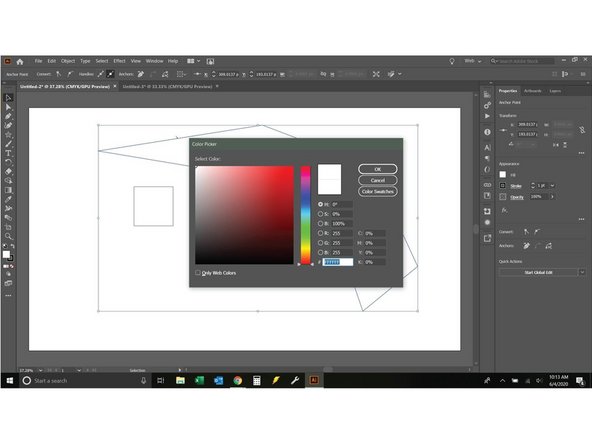
If you double click the fill you will get the color menu, which will allow you to select any color you like. Just adjust the slider on the rainbow to the color you like then click the color area on the color map you want. (Image 2)
-
The same applies to stroke (located right next to fill).
-
-
-
If instead of clicking two points with the pen tool you click+hold something different happens. The line will appear to propagate from the center. This line isn't a line at all, but instead is a set of "handlebars"(they allow you to steer the line).
-
Click+ hold to create a set of handlebars, then release and move the mouse around, you will see a curved line appear. (image 1)
-
The curvature of this line is determined by the length and angle of the handlebars.
-
As you continue to draw this line the same rules apply, click and hold to build handlebars, then draw the line. If you want a straight just click then click where you want the next point.
-
You can adjust the handlebars (therefor the curvature) after a line is drawn. Just click the anchor point you want to work with using the direct selection tool and the handlebars will appear. If you use the selection tool the adjustments will be symmetric, if you use the direct selection tool the adjustments will be asymmetric.
-
The other tool hidden behind the pen tool is the anchor point tool, it is used to add or remove anchor points.
-
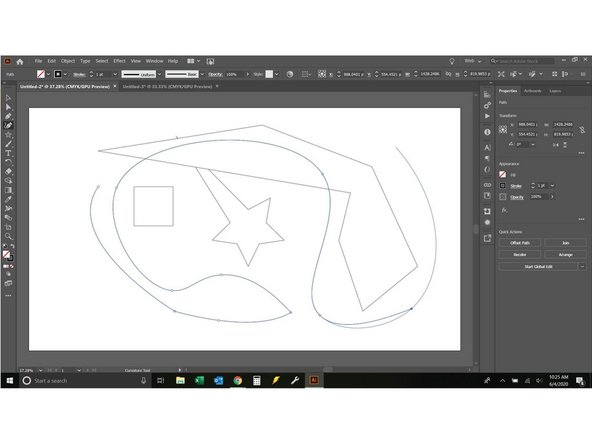
The tool below the pen tool is the curvature tool. It will allow you to draw curves and AI will attempt to make them as fair as possible. (Image 2). It is faster at making curves than the pen tool but also less precise.
-
If you click the curvature tool while working with lines from the pen tool it will automatically switch over to curves.
-
-
-
Ok, so the next tool is actually the shape tool. But we already covered it. So lets look at the paintbrush tool.
-
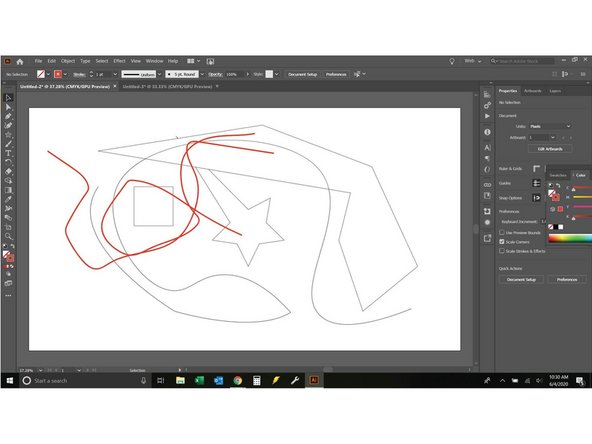
The paintbrush tool is used to make free form lines. It will just draw wherever you move the mouse around. It can be hard to control unless your using a drawing tablet.
-
The hidden tools are the Blob brush and the Pencil tool.
-
The Blob brush works exactly like the paintbrush tool except AI will automatically smooth jagged spots into curves.
-
The Pencil tool creates something that looks very much like the Paintbrush tool but it makes a series of joined anchor points with handlebars so you can manipulate it to perfection.
-
-
-
The text tool creates a space for text to go. Select the text tool and create a box, you will see generic text appear. You can then click the text and type whatever you like.
-
The hidden tools are the type on path tool and the vertical type tool.
-
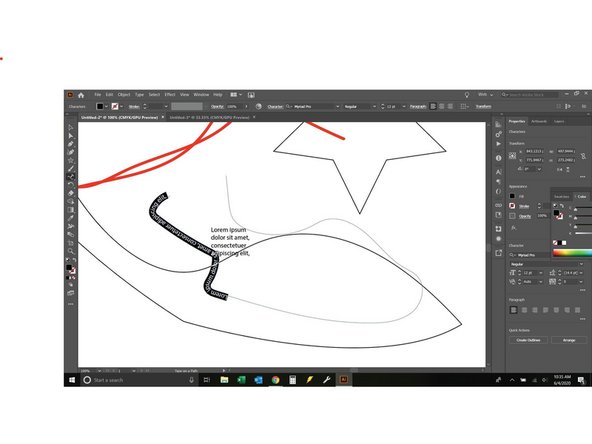
Select the type on path tool, then click one of your lines or shapes. You can now type whatever you want around your shape.
-
If you want the type to start or end at a different point on the path select the selection tool (v) and click on the text, you will see three brackets appear, one at the beginning, one in the middle and one at the end.
-
The bracket at the beginning will allow you to set the start point, the bracket at the end allows you to choose the end point.
-
The middle bracket allows you to choose which side of the path you want the text to be on.
-
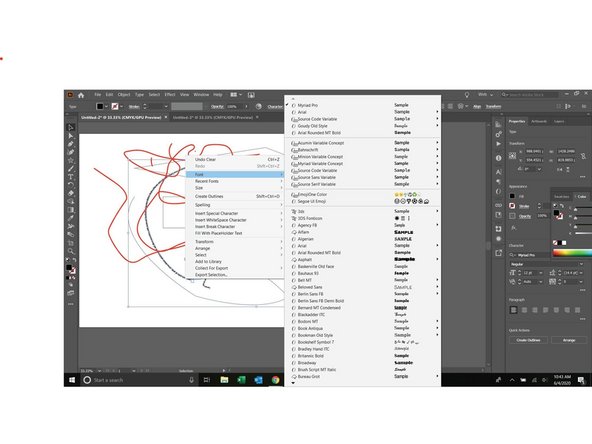
There are many ways to manipulate the font and text styles but the most basic is just to right click your text, you will see menus pop up that give you a few options to start with. (image 2)
-
-
-
Next is the rotate tool. It is used to change the orientation of an object. Select the object, then the orientation tool, grab an anchor point and move it how you wish.
-
The hidden tools are the Scale tool, Reflect tool and shear tool.
-
The scale tool allows you to change the size of an object, from an anchor point (non-uniformly). You can scale an object uniformly by clicking the shape with the selection tool and moving the boundaries . If you hold shift while moving the boundary box the scaling will be uniform between x/y.
-
The reflect tool allows you to reflect an object across an anchor point. If you wish to reflect an object across x or y, or a known angle select the object, right click, transform then type in your angles.
-
The shear tool allows you to shear an object based on an anchor point. If you wish to shear an object uniformly select it, right click, transform, shear.
-
If you select an object and right click, then click transform you will see all of these tools listed. They are different, the right click tools work with the image as a unit based on an inferred center point. The toolbar tools work on an anchor point.
-
-
-
The eraser tool lets you split objects and create a new path. Choose one of your objects and split it with the eraser, start on one side, click+hold and drag the eraser through.
-
You will notice the split follows the path you took with the Eraser tool, AI will generate new anchor points (use the direct select tool to access them)
-
The hidden tool under the Eraser is the Scissor tool. It works much the same as the Eraser but doesn't generate anchor points, it just breaks the shape apart.
-
-
-
The Shape Builder tool works in a few different ways. To clearly demonstrate it I will clear my artboard by selecting everything and hitting delete.
-
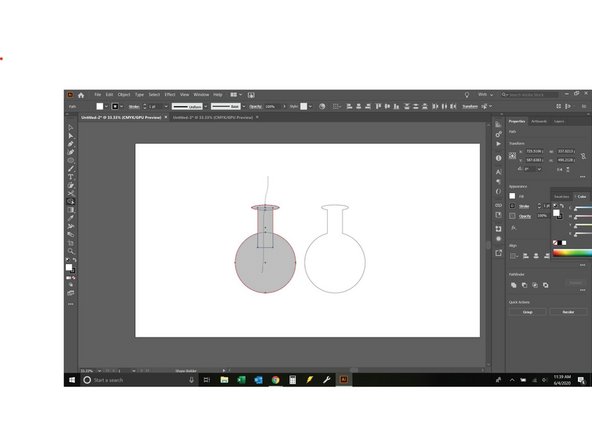
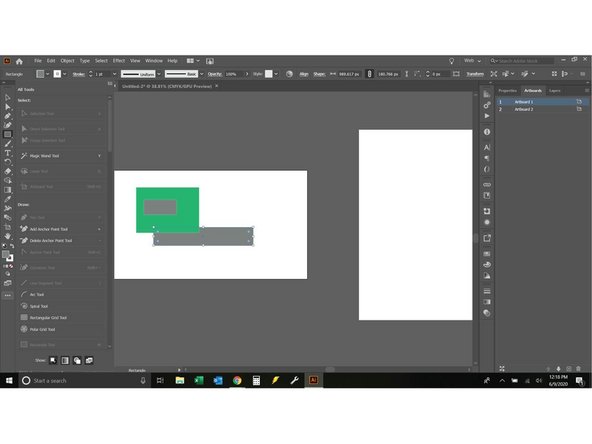
I will build a simple line art round bottom beaker for this demo. To create this I need 2 elipses (one round, just hold the shift key to make it round) and a rectangle. (Image 1
-
You will notice the shapes are in wonky spots. It's an easy fix with a perfect result: select all three shapes, click the Object tab, align, horizontal align center. (Image 2)
-
Select all three shapes, then click the shape builder tool. Click+hold and make a line through all three. release the mouse and viola, done.
-
-
-
The shape builder can also remove parts of a shape using another shape.
-
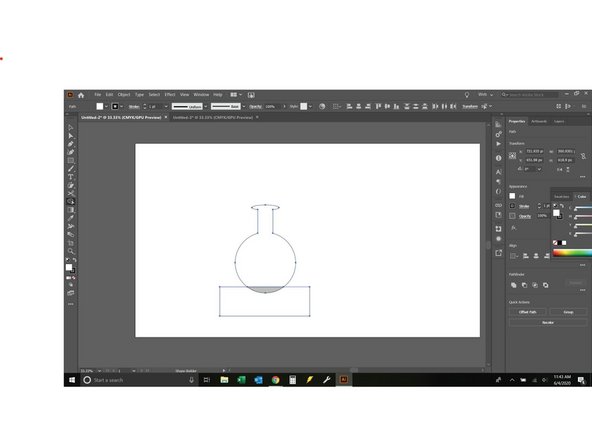
Continuing to use the beaker from before I will make it flat-bottomed.
-
Start by drawing a rectangle at the bottom of your beaker. Then select both shapes and click the shape builder tool.
-
With the shape builder tool select the intersecting area and single click. This will break the shapes into 3 pieces that you can separate and delete as needed. (image 2)
-
The 3rd major way of using the shape builder is as an eraser. Hit ctrl+z a few times to go back to where you were before you split the shape up.
-
Hold the Alt key and select the interlocked shape as in image 2.
-
You will see when you hold alt the mouse icon changes from a + to a -.
-
When you click the interlocked shape this time it will be deleted and you will get 2 separate shapes.
-
-
-
Make sure you have gone through part 1 of this tutorial as it will get you oriented to the program and what this guide will cover.
-
Start by creating a new document and draw a rectangle (arbitrary size, but big is good so you can see what is going on.
-
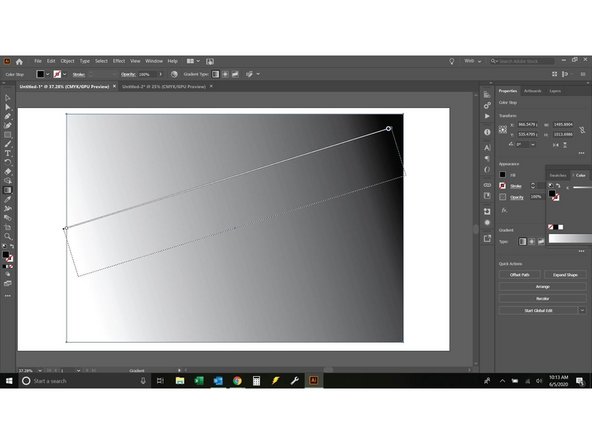
Select the box with the direct select tool (V) (I will refer to this tool as (v) from now on). Then click the gradient tool. The box fill will change to a gradient.
-
Notice the line that propogates across the center. On this line there is a diamond in the center and a dot at each end. With the gradient tool selected you can move these to manipulate where the gradient applies light and shadow.
-
If you hover the pointer just over the edge of the rectangle next to the line you will get a rotation pointer to appear, this allows you to change the angle of the gradient.
-
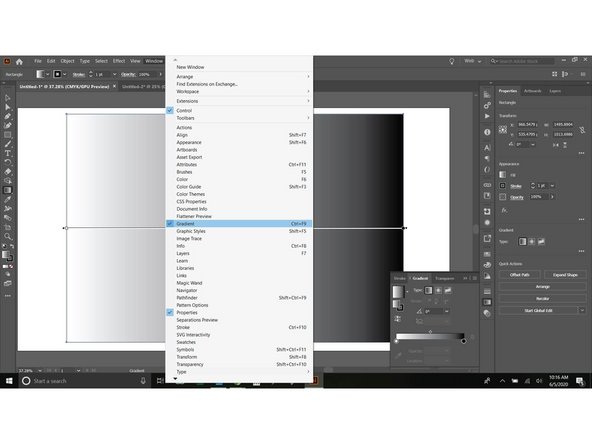
Next open up the gradient window. Click the window menu at the top of the screen, then click gradient.
-
-
-
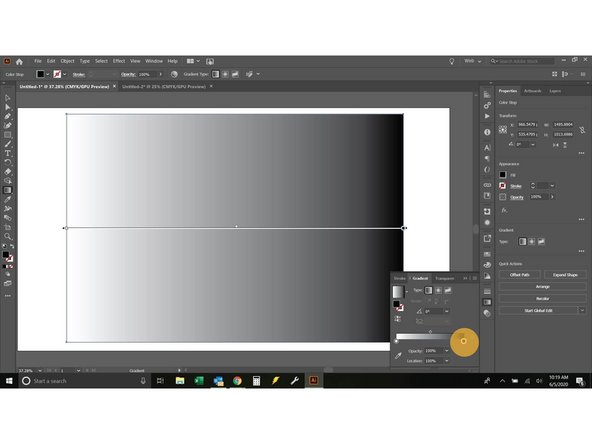
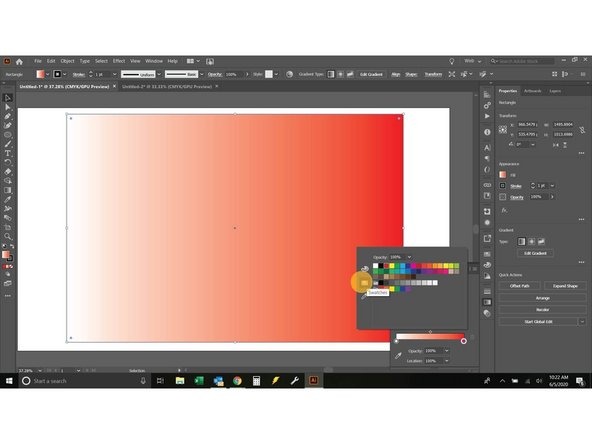
With the gradient window open look at the bottom of the gradient bar and you will see a couple of circles (orange highlight, picture one). Double click one of these circles and a color menu will appear. Select a new color by selecting the swatches tab and picking your color.
-
Hit the ESC key the color menu will go away and the gradient window should return to full view.
-
In the gradient window hover your mouse around. You will see a type section at the top, which includes 3 gradient types: linear, radial and freeform. To this point we have been working with a radial gradient. Play with these, mess with the adjustment bar and familiarize yourself with the options.
-
At the bottom of the gradient window you will see an opacity bar, this will be covered more in the 3rd part of this guide. But it essentially makes the objects under the gradient more or less visable.
-
-
-
Hidden in the gradient tool is the Gradient Mesh tool. Click+hold the gradient tool to access it.
-
Using (v) select the rectangle and delete it.
-
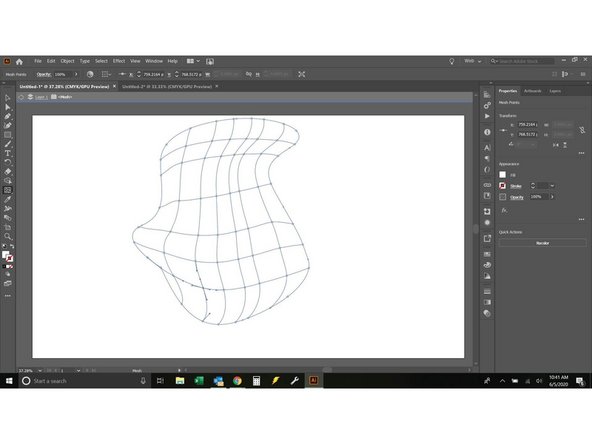
Create some sort of "blobject" on the page using the pen tool. Make sure and close the blobject by finishing at the same place you started.
-
Select the blobject (v) then select the mesh tool (U)
-
Click a couple of locations within your blobject, you will see a complex grid begin to appear. Every time you add a point the gradient will become much more complex.
-
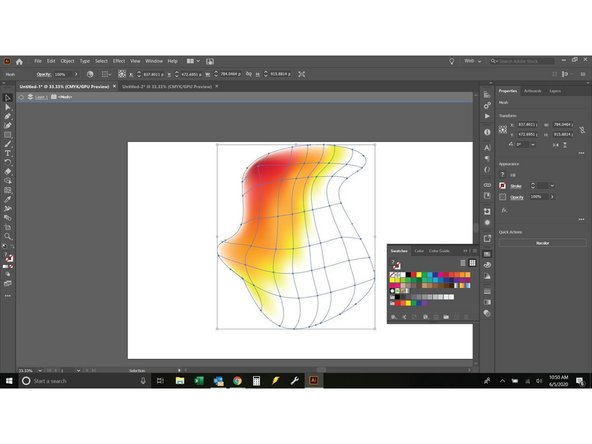
Open the color window (Window, ==> color). With the (U) tool select one of your points, then click swatches and assign a color to the swatch. Note that the Gradient Mesh Tool only allows one grid point at a time to be selected. If you want to apply the same color to more than one grid point, use the Direct Selection Tool + hold shift instead.
-
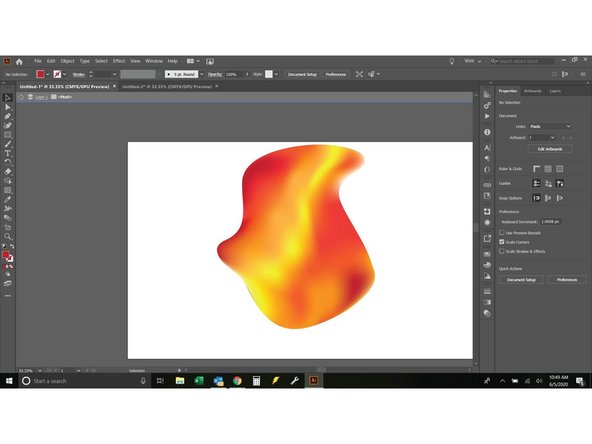
Continue assigning swatches to all the gradient points, once finished you can click off to see the impact of the work.
-
Each anchor point in the mesh works as an individual gradient, you can change the angle, size, color, opacity, etc You can create an incredible amount of detail fairly quickly with this tool.
-
-
-
The eyedropper tool is AI's color matching tool.
-
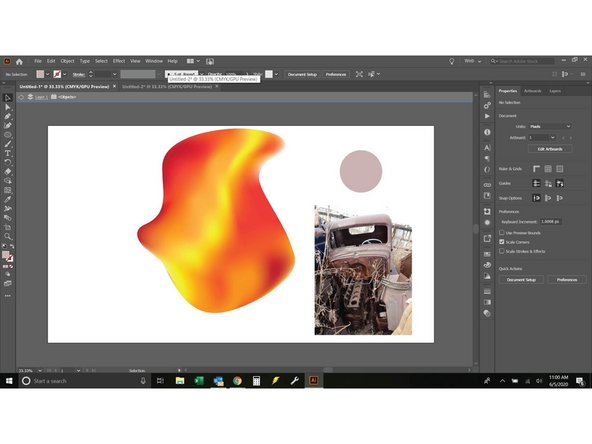
Create a circle near your blobject.
-
Select the circle (V) then click fill, click the eyedropper tool and click somewhere on your blobject. It will pull that color. You will see as you move around your gradient the colors will change.
-
Now click FILE ===> place, and select a picture from your computer (file, place is the easiest way to import pictures to Adobe).
-
Select the circle again (V) click the eyedropper tool, then click a color on the photo, the dropper tool will import the color to the circle.
-
-
-
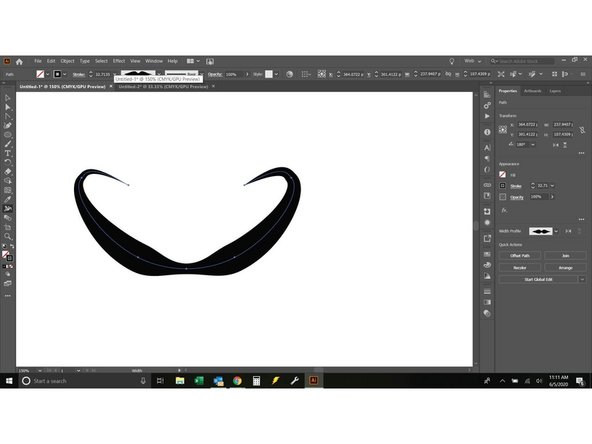
Start by clearing your page and drawing a line with several points using the curve tool. The line will probably come out with a fill the same color as the circle from the previous step and no outline. Just change the outline to black and fill to none.
-
Select the line (V) then select the width tool.
-
Grab and drag any anchor point, you can change the width of any section.
-
Don't forget, you can always add anchor points, and zoom in and out to make the details easier.
-
-
-
The blend tool is used to blend 2 shapes together.
-
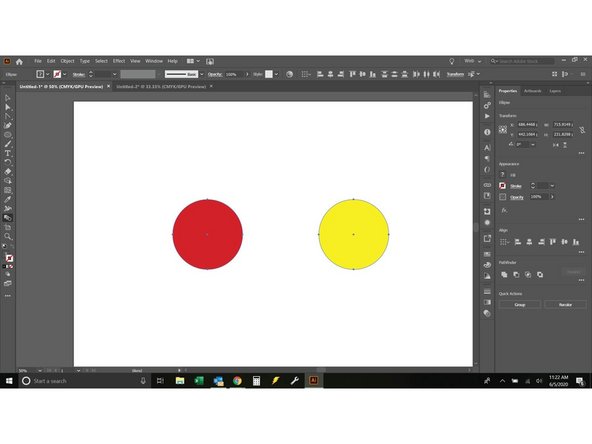
Start by drawing a circle. Select a fill color and select a stroke of none.
-
Select the circle (V) click and hold the mouse + hold alt + shift and drag the circle across the artboard. This will duplicate the circle. Select the second circle and make it a different color.
-
Select both circles (v) then click the blend tool (W). Click both circles, it will automatically populate a gradient between the two circles.
-
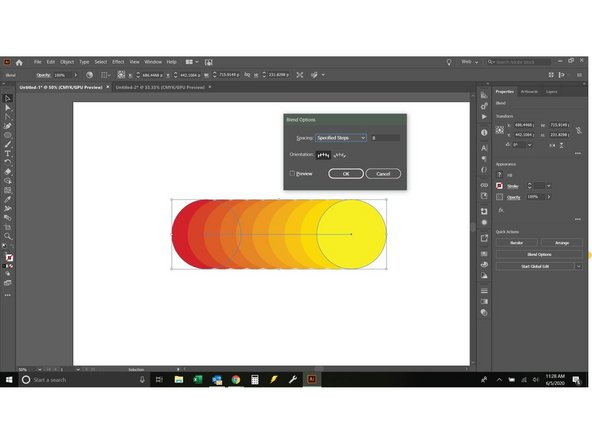
On the far right of the screen there is a blend options tab (Orange highlight image 2). Click that, a new menu will pop up.
-
On that menu click the top item is spacing, it will be smooth color. Change that to specified steps, change the number of steps to 8.
-
The image now looks like a series of circles. This will work with whatever shapes and colors you choose.
-
If you want the output can also follow the path, just change the path shape.
-
-
-
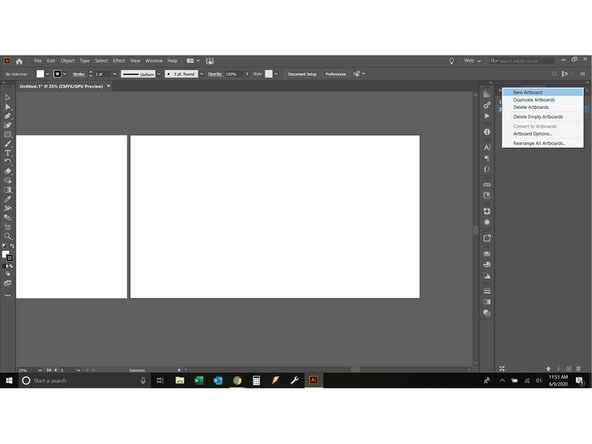
Start by clearing your artboard. Next click window ==> artboards. A new panel will pop up on the far right of the screen. Click the menu button on that panel (3 horizontal lines stacked), then click new artboard.
-
Now select the artboard shift tool. Adobe will automatically select the most recently used artboard (in this case the new one). But you can select any artboard you want. The move tool allows you to move them around the workspace, change their size and shape and align them as you see fit.
-
This tool is the easiest way to manipulate artboards on a working document.
-
-
-
The zoom tool allows you to zoom in or out. Click to zoom in, alt+click to zoom out.
-
The hand tool is used to move the screen around quickly. Just select it, click and wiggle the mouse to see it work.
-
-
-
The swap fill and stroke tool does exactly what you would expect. It's just a matter of finding it on the page. Draw a square, use (V) to select it then swap fill/stroke.
-
This tool is part of the Color tools
-
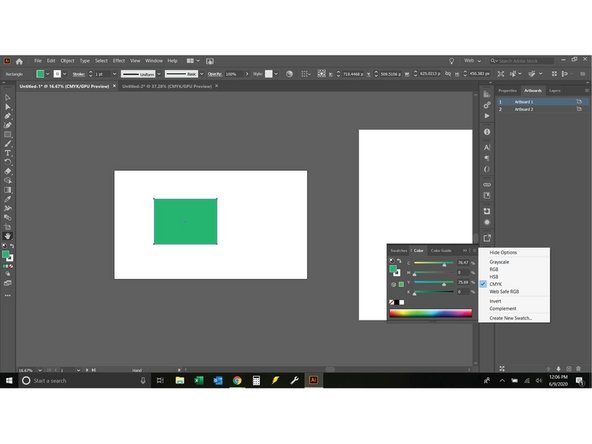
Next click the fill box. A new pop up will appear on the right side of the screen. This allows you to adjust color using the CMYK (Cyan, Magenta, Yellow, Black). CMYK is what most printers will print with.
-
To choose a color you can input or adjust the sliders for each of the four colors, or you can pick a color from the CMYK spectrum at the bottom of this popup.
-
If you prefer not to use CMYK or you know the application you are using it for isn't CMYK friendly you can change it. Click the menu bar and you will have several other options to play with.
-
-
-
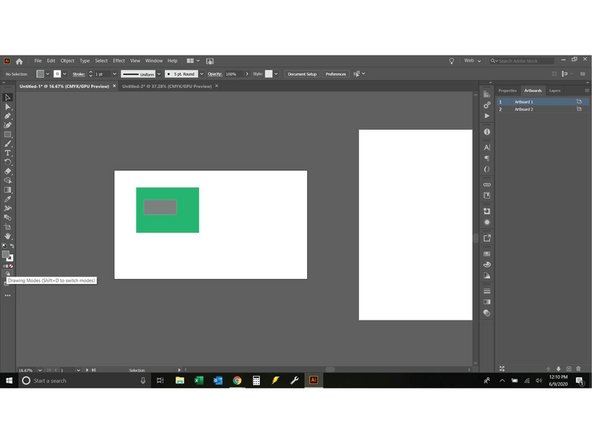
Adobe has 3 main drawing modes
-
Draw normal: This is what we have been using to this point. It draws every object separately and layers them on top of each other in the order they are drawn.
-
Draw behind will put the next object at the bottom of the object stack (behind everything else)
-
Draw inside requires you select an object. It will allow you to add another object that will be permanently fixed within that object, the new portion will have all new user defined characteristics.
-
-
-
The screen modes button allows you to change what you see around your workspace.
-
Presentation mode locks the workspace and makes it full screen
-
Normal mode is the mode we have been using so far (it is the one I default to)
-
Full screen with menu bar pulls AI to the front of your desktop, think of this like focus mode. It is great if you are using only AI and not importing anything.
-
Full screen mode allows the workspace to take over the screen. If you know all of your hotkeys this may work ok. You can also hover at either edge to get menus to appear. Hit ESC to go back to normal mode.
-
-
-
This guide covers the lions share of AI's tooling. They are the most commonly used. If there is a tool you need but don't have you can find it by selecting Edit Toolbar (3 horizontal dots).
-
This guide will not cover all of these new tools. But you now know where to find them.
-