Tools
Parts
No parts specified.
-
-
Make sure Adobe Illustrator (AI) is set up to view the Essentials workspace.
-
Open a new document in AI, any of the defaults will do
-
Click the Window tab ==> Workspace ==> Essentials
-
-
-
The toolbar section to the right of your Artboard contains the essential tools to create things in AI.
-
When you hover over a symbol a text box will appear with that symbols name.
-
When you click on one of these symbols the tool will fly out.
-
You will notice a group of tabs in the tool you are working with. These tabs are the tools for that group, Adobe will automatically populate this when a new tool is added.
-
-
-
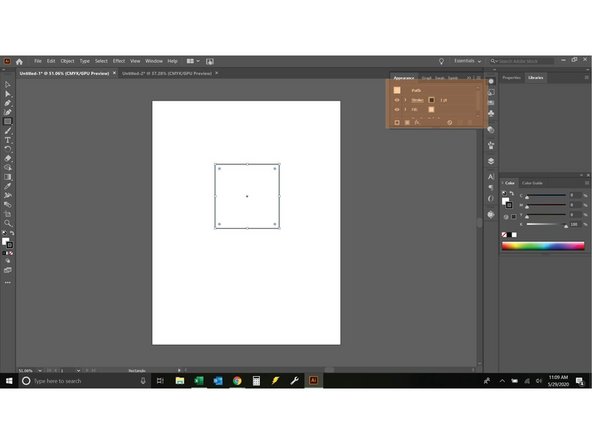
Almost all of these tools will require you to have some sort of object selected. Draw something, a basic square or circle is enough.
-
Now that you have an object selected you will see the tool group options change. Go through each tool on the right to discover what they can do for you.
-
The first four tools will manipulate the appearance of the object in various ways.
-
-
-
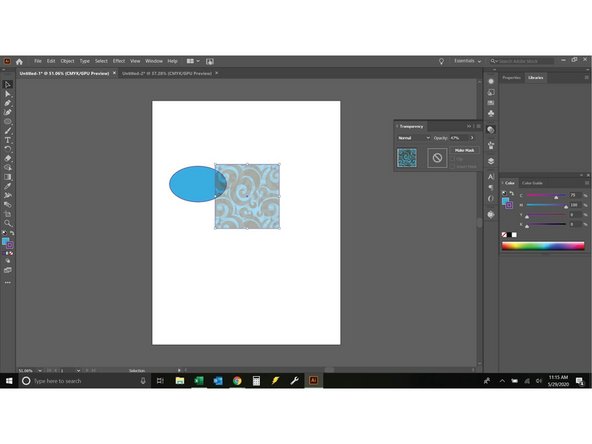
The next tool group contains only one tool: Opacity.
-
Opacity is used to make things see through to whatever degree you want. The square is in front, you can see the circle coming through it.
-
-
-
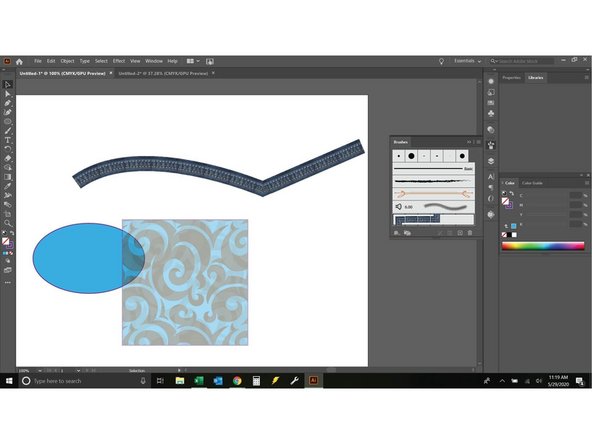
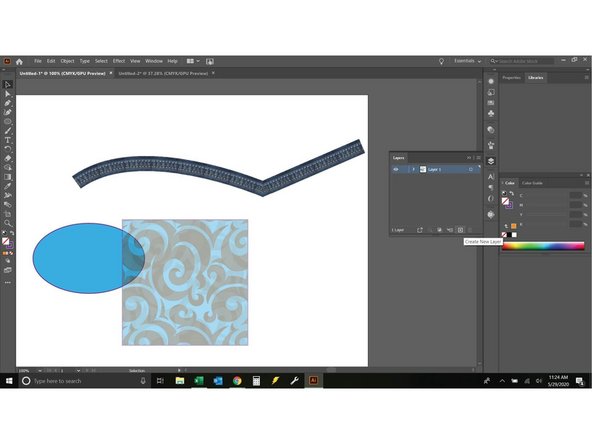
The next tool group contains Brushes.
-
Brushes are used to change the appearance of a line. This brush makes my line look like Denim seams.
-
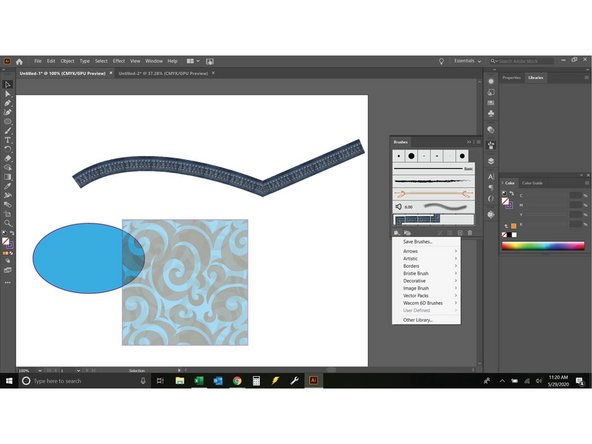
There are many brushes available, to access the preset brushes click the Brush libraries menu and take your pick.
-
You can also make custom brushes. that is outside of the realm of this article.
-
-
-
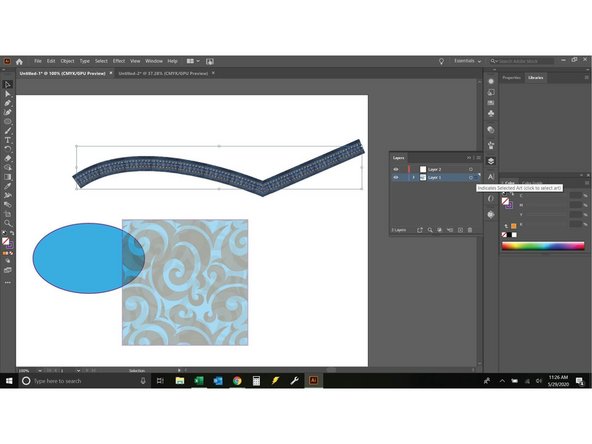
The next tool group is Layers.
-
Layers are one of the most powerful tools in AI. It is worth spending some time to understand them.
-
Start by creating a new layer.
-
Any time you select an object a small colored dot icon will appear next to the layer in which the object belongs.
-
To move an object just drag and drop the dot to whatever layer you want.
-
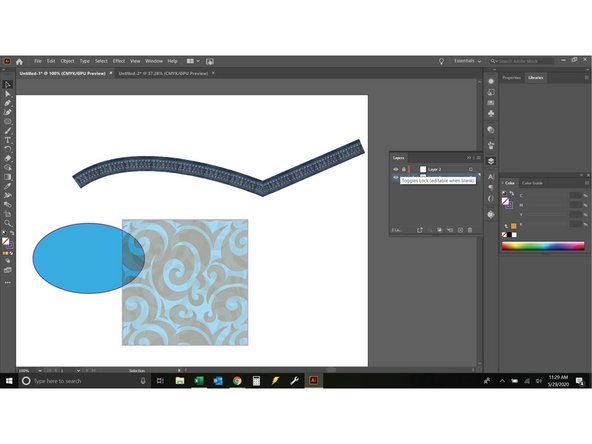
You can now lock layers individually by clicking in the lock box area, and turn their visibility on and off by clicking the eyeball. This is really helpful if you are tracing something.
-
-
-
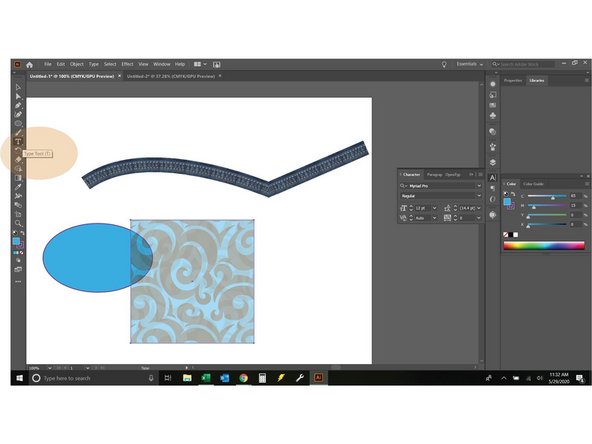
The next group is the typing tools
-
To use typing tools you must create a place for the text to go. You can use the type tool on the left to create a text box or add text to an object.
-
The typing tools work very similarly to the Microsoft suite, and all other adobe programs.
-
-
-
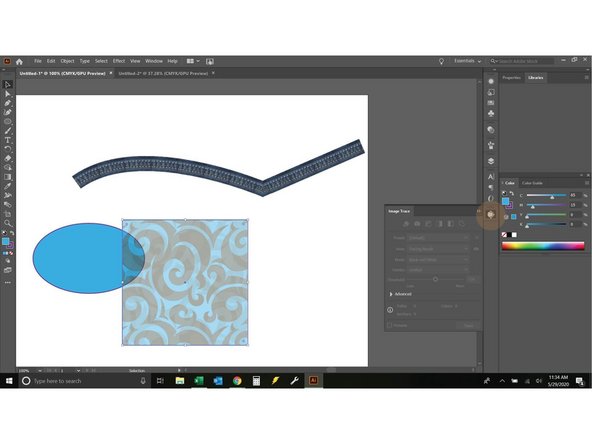
When you click the image trace tool you will notice all of the selection options are grayed out. You will need an image to use this tool, this tools usage will be put into a separate guide.
-
-
-
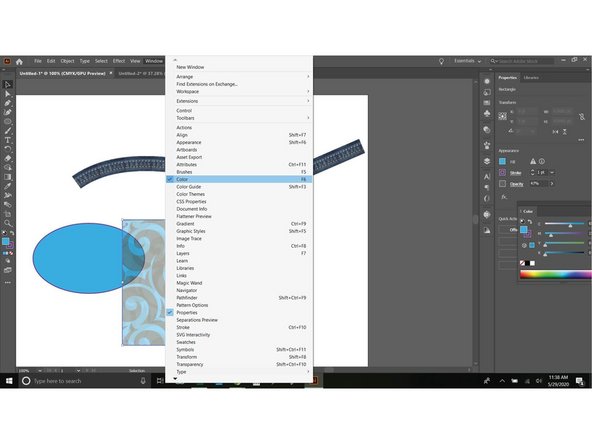
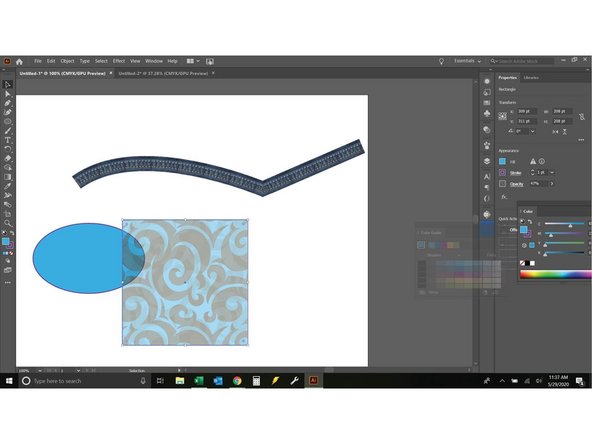
You can add tools by opening them with the window menu then dragging and dropping them onto the toolbar.
-
Each new tool will require new skills to use.
-
Cancel: I did not complete this guide.
One other person completed this guide.


