
Difficulty
Easy
Steps
6
Time Required
00:05:00
- Dust Collector Maintenance 6 steps

User-Contributed Guide
This guide is not managed by the site's staff.
Quiz
0
Introduction
At least once a month, our dust collectors need to be emptied in order to operate normally. If you know a particularly dust-heavy job has been worked in the shop recently, it may need to be emptied even sooner. This guide will show you how to empty the dust collector, as well as basic operation of the machine.
Tools
Parts
No parts specified.
-
-
Make sure the machine is off before operation.
-
The red arrow indicates the power button used during normal operation. Make sure this is off first.
-
The green arrow indicates the hard power. With this off, the machine will not turn on via the remote or the other power button. Make sure this is in the off position.
-
-
-
There are three latches connecting the dust bin to the machine. They will need to be undone to slide the bin out.
-
Pull the large metal flap down.
-
Pull the loop off the hook.
-
The dust bin can now slide out from the machine. You may need to lift the green lip up to get it to slide properly.
-
-
-
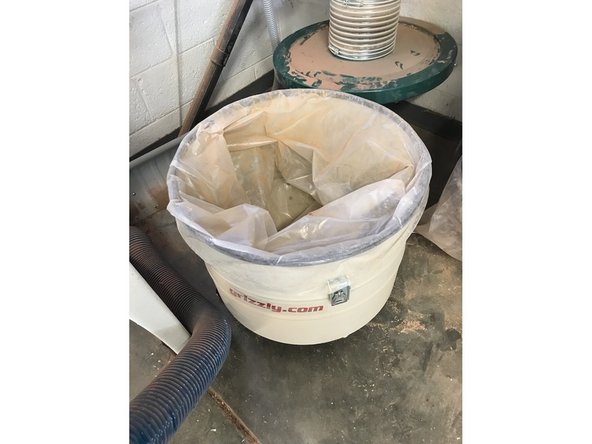
Once the bin is out, you can see how much sawdust has accumulated. If it seems the machine has been overflowing, you may need to pull more out of the machine that has been clogged up.
-
-
-
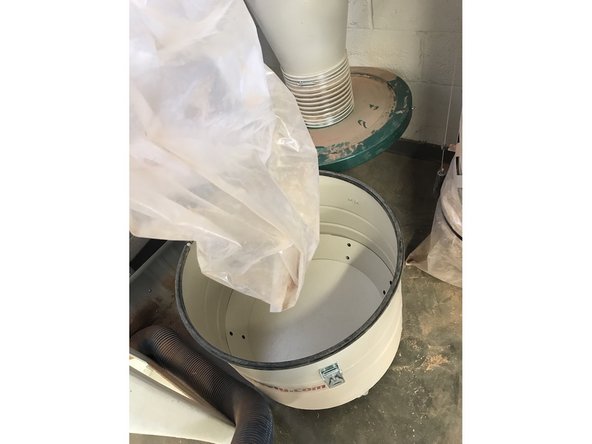
Remove the dust bag and empty in the trash, then put the bag back in the bin.
-
Slide the bin back under the machine and reattach the three latches.
-
You have now successfully emptied the dust collector.
-
-
-
First, make sure the machine has power. Flip the switch indicated by the red arrow into the on position.
-
To get the dust collection running, press the on/off button indicated by the green arrow.
-
If you want to set a timer for how long the machine should run, press the timer button. Each time you press it, it will cycle between the 2 hour, 4 hour, or 8 hour option, lighting up red at each one. This process is indicated by the blue arrows in the picture.
-
-
-
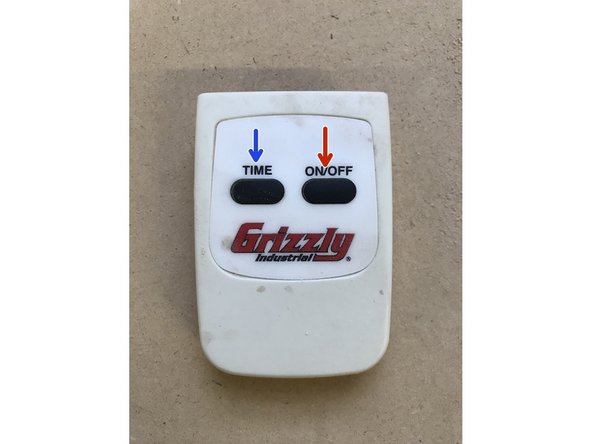
The machine can also be operated using this remote.
-
To turn on the machine with the remote, use the On/Off button indicated by the red arrow. Note that if the machine's main power switch is not on, this button will not turn on the dust collection.
-
The timer can also be operated with the remote. Press the timer button, indicated by the blue arrow, to cycle through 2 hour, 4 hour, and 8 hour timer options.
-


You now understand how to empty the dust bin, as well as basic operation of the machine.
You now understand how to empty the dust bin, as well as basic operation of the machine.