
-
-
If you can't thread a needle by hand, you can use a needle threader to help
-
First, insert the needle threader through the eye of the needle
-
Next, thread your string through the needle threader.
-
Last, pull the needle threader through the eye, pulling the string through as well.
-
-
-
When sewing, you have two options on how to use your string: single thread and double thread. Here is one way to knot a single thread.
-
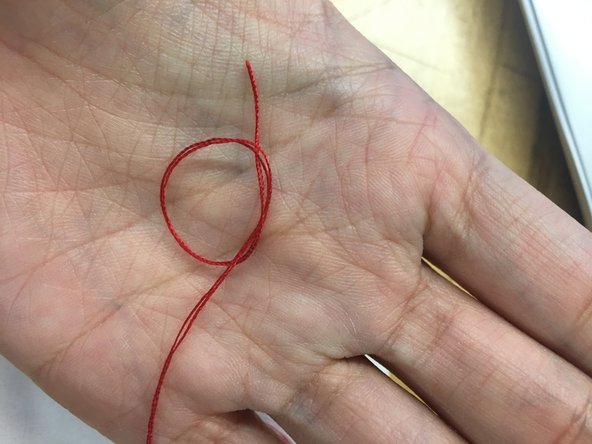
After threading your needle, you should have a longer side and a shorter side. Take the longer side and wrap it around your finger several times.
-
Roll the string wrappings until it forms a singular loop and then roll the loop off of your finger.
-
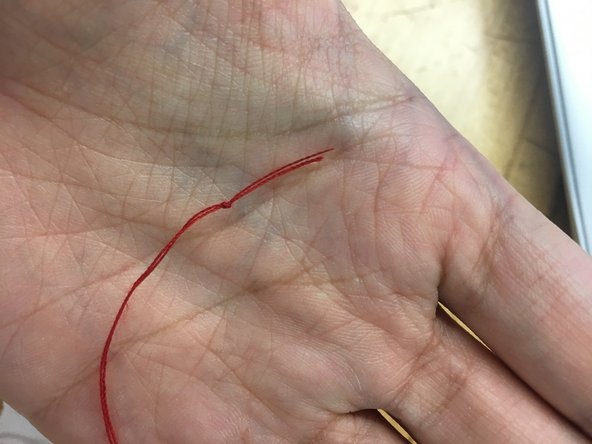
Finally, pull the two end of string tight to form a knot.
-
While sewing, make sure to keep track of the free short end of your string. It may come out of the needle and you will need to rethread it.
-
-
-
If you choose to sew with the double thread method, here is a way to knot your string.
-
Take both ends of your thread and line them up together.
-
Form a loop and create an overhand knot.
-
Pull both ends tight to form your knot.
-
With both ends knotted, you can sew without worrying about a loose end coming free.
-
-
-
To start, line up your pieces of fabric. Push the needle through one side.
-
Push the needle back through to the other side approximately 1 cm down.
-
Continue alternating from side to side .
-
-
-
To strengthen the seam, you can double back and alternate the stitches in the opposite way.
-
-
-
To begin, push the needle and make a cm stitch like a running stitch.
-
However, after pushing the needle through the second time do not make another cm stitch.
-
Instead, double back and enter through your first hole.
-
Next, make about a 2 cm stitch.
-
Repeat until finished.
-
One side should look similar to the third picture and the other side should look similar to the continuation of the running stitch.
-
-
-
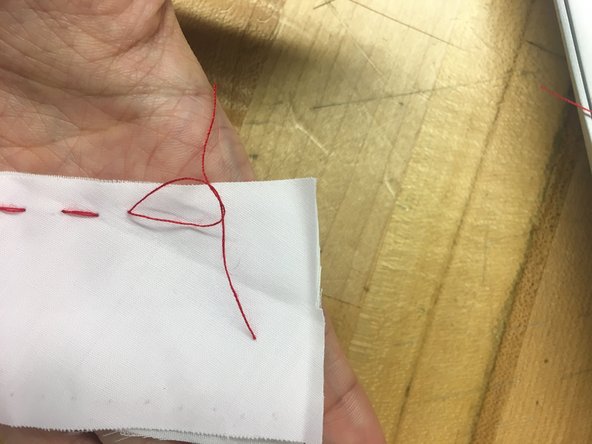
This stitch is helpful in fixing ripped seams.
-
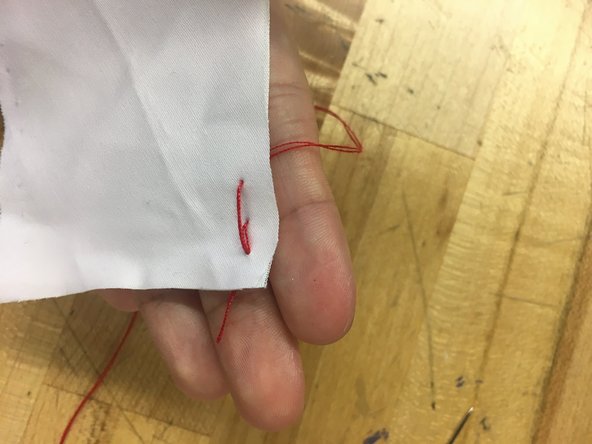
First, push the needle through the inside of one piece of fabric.
-
Next, push the needle through the outside of the second piece and make a cm stitch.
-
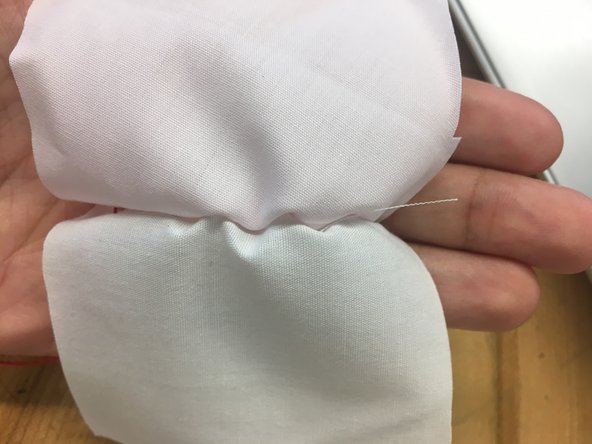
Repeat to the other piece of fabric.
-
The stitches should look similar to the second picture.
-
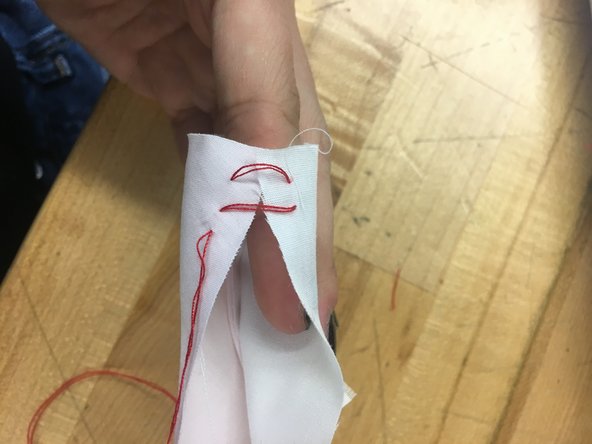
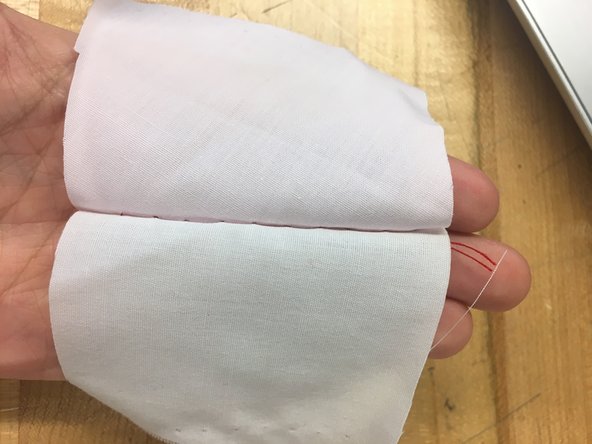
Push the edges of the fabric inwards and pull the string tight.
-
The resulting seam should look similar to the third photo.
-
-
-
To finish, cut the string, leaving about 3 inches of string.
-
Separate the two threads and tie them twice.
-
-
-
While sewing, do not pull the string so taut as to cause the fabric to ripple.
-
This will result in your seam ending up jagged instead of smooth.
-
While using a pattern, make sure to cut about 2 cm of extra fabric around your pattern to allow a seam allowance and sew along the pattern.
-
When knotting string, make the knot thicker than your needle so that it doesn't slip through the holes made.
-
Make sure to sew with the wrong side of your fabric facing out, you will turn whatever you're sewing inside out unless you're using the slip/ladder stitch.
-


Cancel: I did not complete this guide.
One other person completed this guide.