
Difficulty
Moderate
Steps
6
Time Required
- Hand Tool Basics: Hand Plane 6 steps

User-Contributed Guide
This guide is not managed by the site's staff.
Quiz
0
-
-
The hand plane is an essential tool for fine woodworking. The plane is used for flattening surfaces and fine tuning part fitments, when properly set up you can take off only a few thousandths of an inch at a time.
-
The learning curve is steep and the first time you use the tool will be an excellent workout. As you develop proficiency and improve your technique it gets easier and faster. As people develop the skill it often becomes a meditative practice.
-
Planes with wide blades are used for finishing and final flattening, large blade planes usually have large soles so they only work well on wood that is generally flat to begin with and are best suited to finish work and perfecting a surface, they also tend to be heavy requiring more energy to operate.
-
Narrower blades will cut faster and deeper, they are used for roughing. Some narrow planes utilize a curved blade edge and can take material very quickly
-
From left to right: Computer mouse for scale, Stanley No.7 Finishing plane, Stanley No.5 intermediate, Union No.4, Stanley “Handyman” scrub (roughing) plane, Sargent No.217 low angle block plane
-
-
-
The Tote is where your pushing hand will grip the plane, I will often switch which hand is pushing and steering depending on how the wood is reacting to my direction of cut.
-
The Knob is where your steering hand will go, its also the place where you can add a little downward pressure when required.
-
The Frog carries the cutting and adjustment assemblies.
-
The Iron is the blade of the plane, sharpened to a razors edge.
-
The chip breaker Sits on top of the iron, it spreads the force from the lever cap and breaks the cut off bits of wood, preventing them from causing catches or clogging the mouth of the plane.
-
The lever cap holds the cutting assembly to the frog, the cam allows a quick release so that gross adjustments to plane depth can be made quickly.
-
The blade angle adjustment rides above the tote so you can easily manipulate the angle of the blade in relation to the sole.
-
The depth adjustment screw controls cut depth of the cut.
-
-
-
Hold the plane upside down in raking light, adjust the depth screw until you can barely see a glint of the polished blade coming through, adjust the lever until the iron appears flat to the bottom of the plane, then pull the blade back into the plane 1/4 turn.
-
-
-
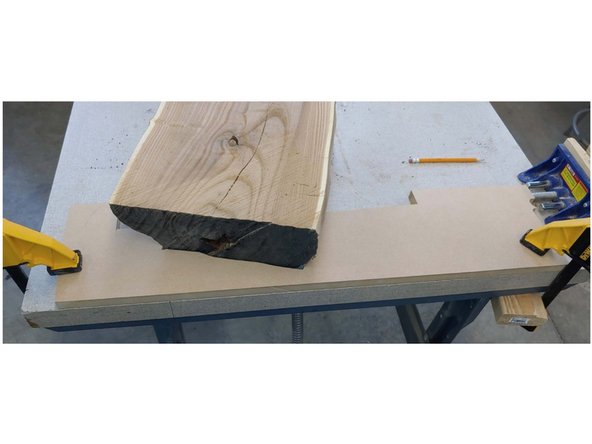
You need a steady work place to plane your boards, in this case I was working with a very strangely shaped piece of wood, so a Fixture was built to hold the part. Clamping to the top of the piece is not advised since the clamps will be in your way. Some workbenches will have bench dogs & vices but in this case they weren’t available.
-
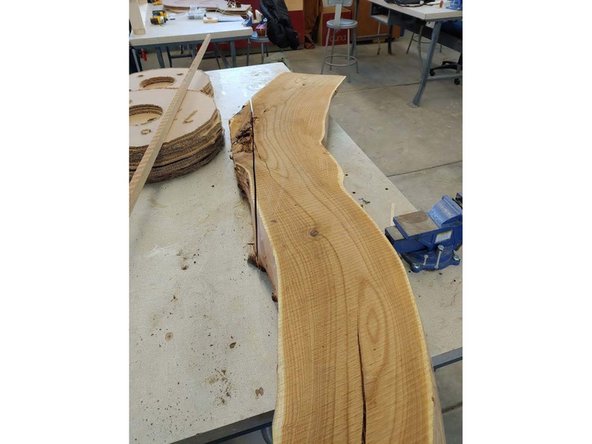
I traced the bottom of both ends of the board on a piece of MDF, and cut it out on the bandsaw. Once the board was set on the table and the fixture clamped in place the board was rock solid. Because of the shear size of this board, and the curvature I could not process it on the available machinery, so I broke out hand tools.
-
-
-
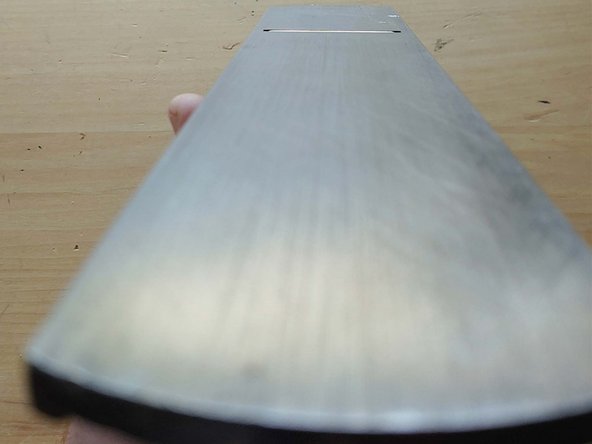
The first pass with the plane shouldn’t cut into the wood, slowly run the plane from one end of the board to the other, if it starts to cut back off, raise the plane iron until you can make a pass with no cuts
-
Begin adjusting the iron down on your full length passes a small increment (1/8 turn or less) at a time until it begins to cut small shavings. The plane won’t cut the entire length of the board, it will only cut high spots, this is exactly what you want!
-
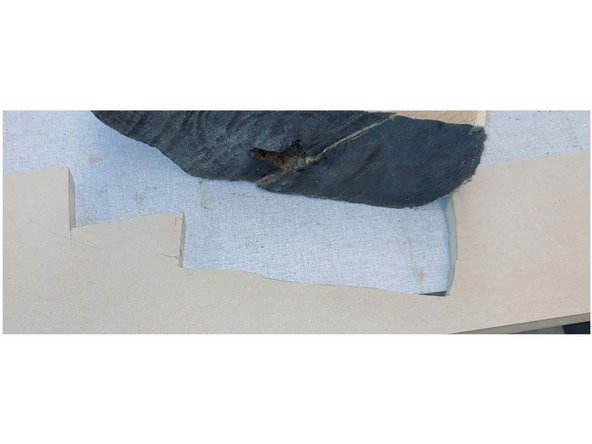
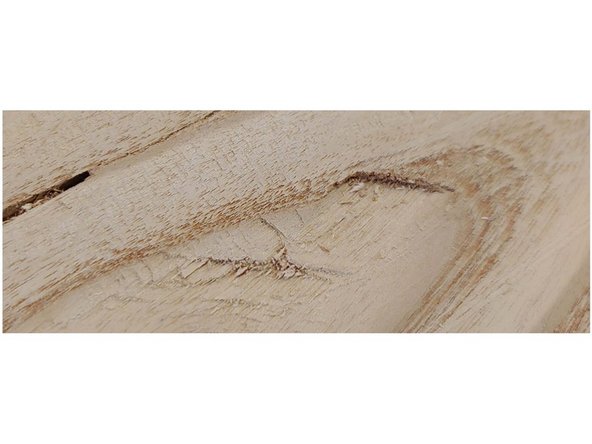
Read the grain of the board. You want the grain to be supported as you're cutting. If you begin cutting into grain the blade will catch and tear out (left photo). You can see in the photo that the grain has been lifted out of the surrounding wood.
-
You will have to make adjustments to cut depth as you go, the closer the board gets to flat the more you will have to adjust the blade out
-
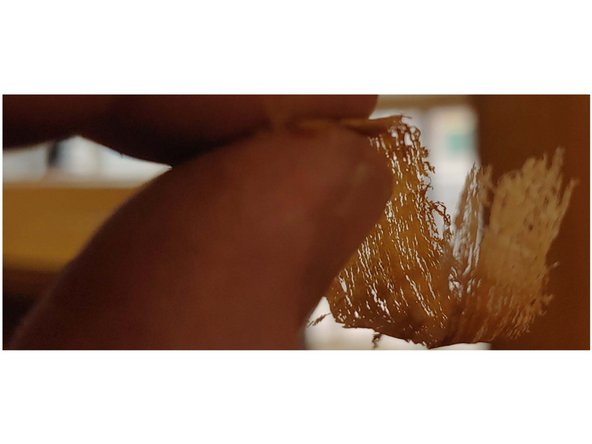
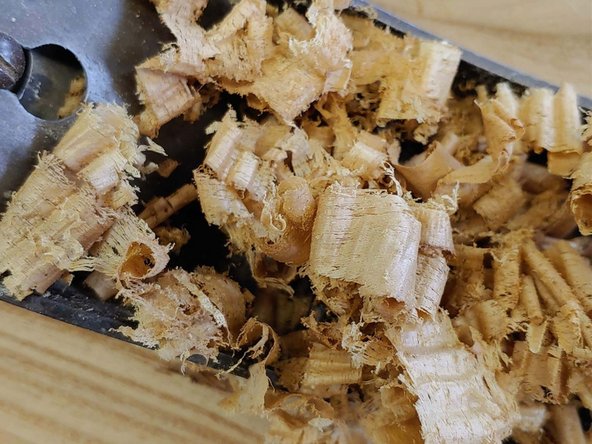
Wispy shavings (middle photo) are what we are after, you don't want to take heavy cuts, the thinner the cut the less likely tearout and catching are to occur. It doesn’t take a ton of strength if you are pushing hard or really struggling back the plane iron off
-
If you get a catch DO NOT PUSH THROUGH, start rotating the plane around the catch with a little forward force until it pops through. If you force through a catch you can tear out huge chunks of wood, this will be difficult or impossible to recover from.
-
Body mechanics are important! If the piece is too high or low, or your feet are close together it will take a lot of work. The optimal height for planing is the height where your wrist resides when you are standing relaxed. Lean into the piece, keep your knees flexed and your spine straight. (right photo)
-
-
-
Don’t get discouraged! This is a skill, it takes refinement, some boards are easier than others.
-
Don’t work tired, this requires focus, especially when you're learning. It’s ok to take breaks, it’s alright to ask for help, ask questions!
-
Do plan to spend some time with this, it’s a life long skill and will teach you a lot about how wood works.
-
Do enjoy the process, if you're in a rush and just want to get something done it probably isn’t the right time to pick up a hand plane!
-


Cancel: I did not complete this guide.
One other person completed this guide.