
-
-
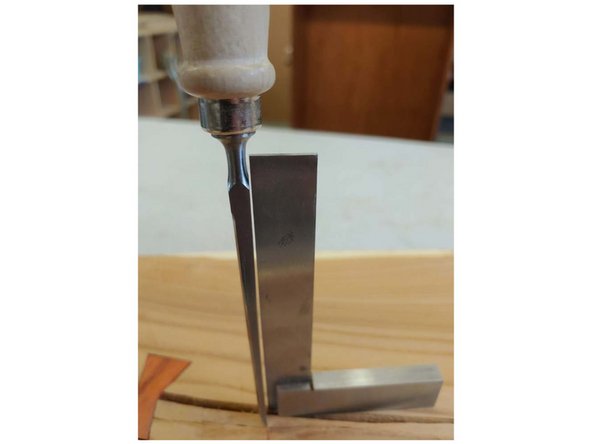
The chisel on the left is a socket type dovetail chisel. They are normally used for intricate work and are only hit with wooden mallets, they aren't designed to take a lot of abuse.
-
The chisel on the right is a heavy mortising chisel. You can see it has a lot more going on to connect the handle and the blade, it has a much heavier blade and a steel reinforcement hoop. It is designed to be used with a brass hammer, pry out material and really take a beating.
-
There are many more types: but most of them are a combination of these two.
-
-
-
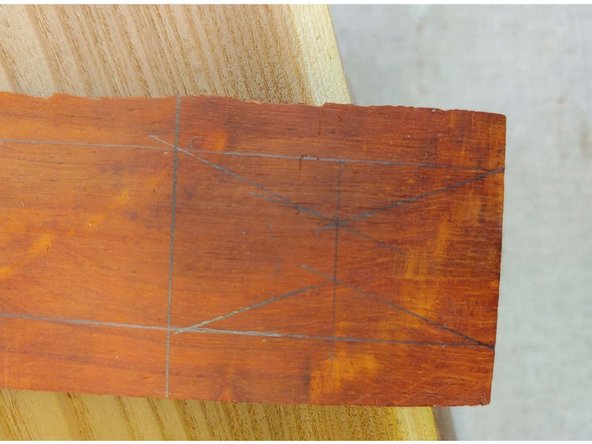
Draw 2 vertical lines using the square. This will set the width of the butterfly
-
Use the angle gauge set somewhere between 10°and 16° to draw a pair of lines on one side of the butterfly. This will set the height of the butterfly and the “waist”. Once you have an intersection point use the square to draw a horizontal line at the intersection point (this just makes sure your intersect points match up).
-
Use the angle gauge again to draw the lines on the other side of the part, make sure the center points line up.
-
-
-
Darken your cut lines so its clear to see what needs cut, you can even erase your excess marks.
-
You can also make a template if thats easier for you, I keep one in my toolbox. If you want to make them different sizes or shapes then you can layout each individually.
-
-
-
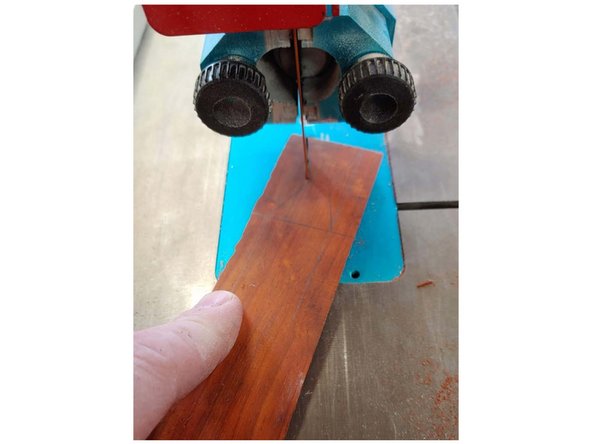
The bandsaw is the easiest tool for this, make sure the blade is square to the pattern using the square. It will make the remaining steps a lot quicker. You could also cut these out by hand with a back saw.
-
Keep your safety in mind if you're using the bandsaw keep your fingers at least 2” from the blade any time it is running.
-
Cut off one side at a time, try to keep the cuts as straight as possible. Then cut the ends, this allows you to keep your distance from the saw.
-
Keep your pencil marks on the wood. Try to cut close to them, but if you cut them off you will have no idea where you're at in the process.
-
-
-
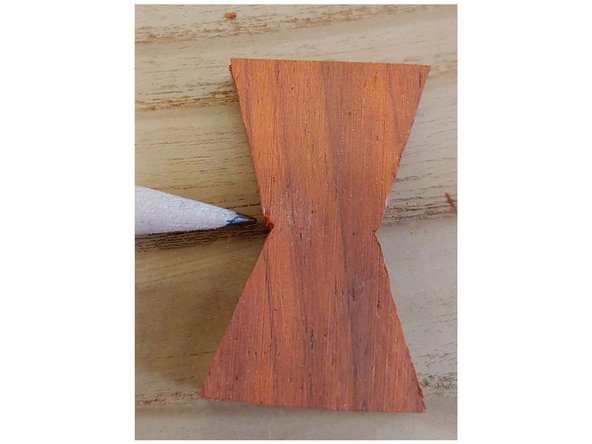
There will be blemishes and marks from the saw. Use the file to cut down right to the pencil mark. The file will give you a flat surface. It is best to put the piece in a vice for this. Remember a file only cuts on the push stroke, and it cuts very quickly!
-
Your final part should have a filed finish on all 6 cut sides, it should still have pencil marks around the entire perimeter.
-
-
-
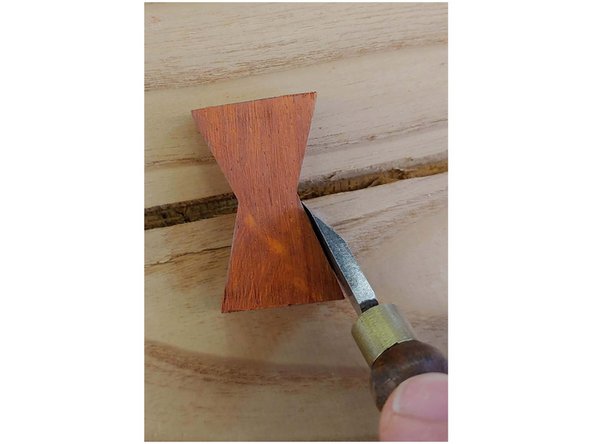
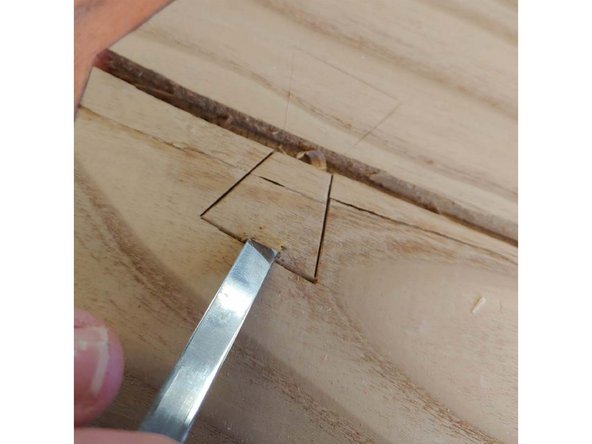
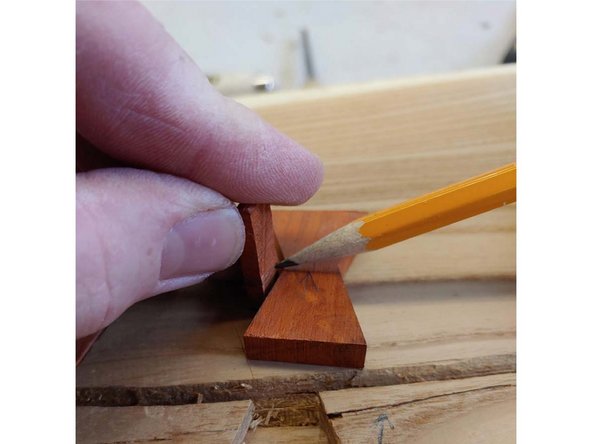
Use the marking knife to trace out the part, a sharp pencil will also work for this. I like the marking knife: the flat back ensures you are right up against the part you're tracing, and the cut it makes gives a registration point for the chisel.
-
If the marking knife marks are hard to see a pencil will easily ride in the grove and give you a darker line to follow.
-
This is a good time to write something on both parts to be able to tell which way is up so things fit properly later.
-
-
-
A set of chisels will be graduated through a variety of sizes.
-
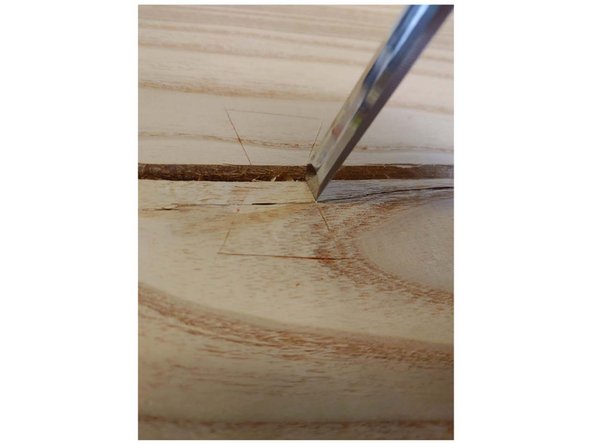
Start with the smallest chisel in the set, rock it in to place in your marking knife cut line.
-
A single strike from a mallet is all that is needed. If you go too deeply the wedge shape of the chisel will make a groove that is too wide.
-
-
-
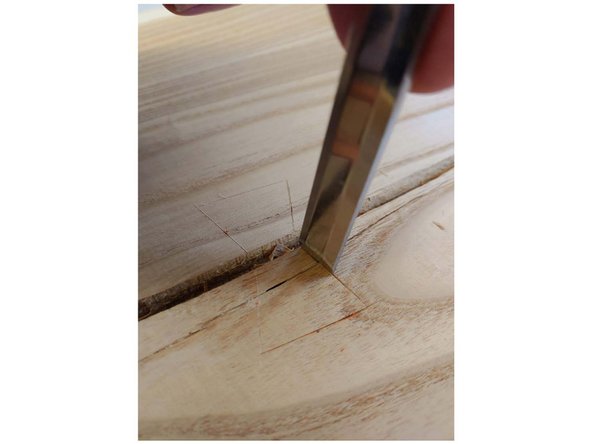
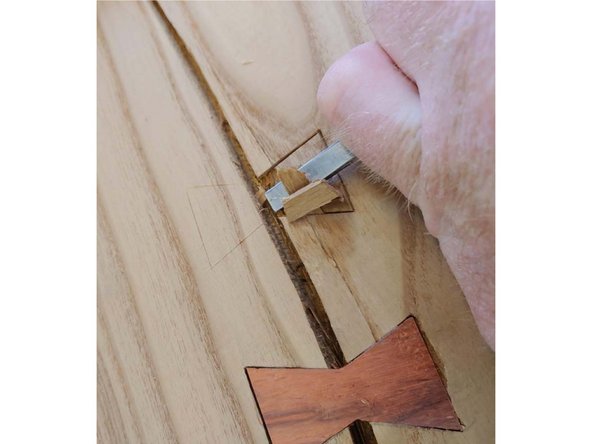
Move up through the sizes one chisel at a time, giving each a single strike from the mallet. By registering each chisel against the previous cut, having the back supported as much as possible by the previous cuts, and only taking a little material at a time you ensure a straight cut.
-
Work all the way around the perimeter until you have outlined the entire cut with the chisels
-
Don’t rush this step: it sets up all of the fitment for the rest of the chisel work on the part. The cleaner this series of cuts is the better your overall fitment will be.
-
-
-
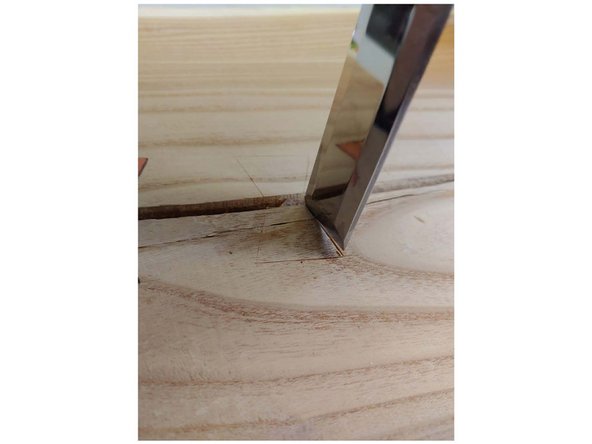
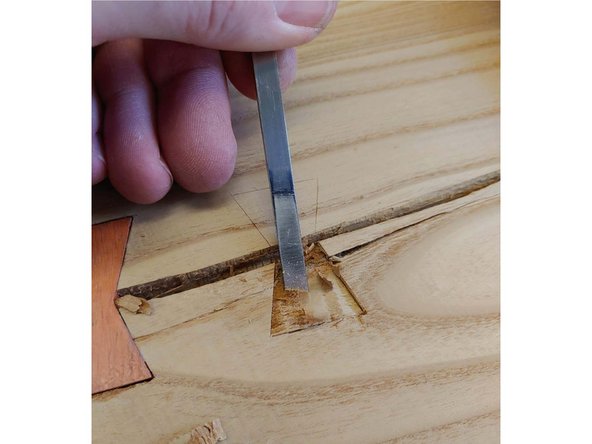
Drop the chisel in near the center of the outside edge, rock it in place and bring it down to a shallow angle.
-
Always keep both hands behind the chisel, remember these are razor sharp. Your non dominant hand should grasp the blade, and your dominant hand will grasp the handle or the mallet.
-
Hold the chisel with the blade at a low angle, with the bevel facing down. You want to try to match the bevel angle to the face of the wood.
-
-
-
Gently strike the back of the chisel with the mallet. Since you are cutting cross grain it will most likely tear the grain out to your perimeter, so don't go to deep (1/32nd” is enough on the first cut, you can double it every time you go down a layer, until you get to 1/8” material removal, this may vary with wood species).
-
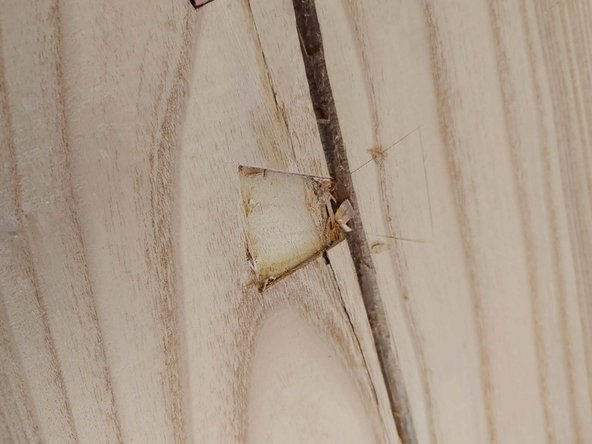
Clean up the edges and bottom They will be rough from having grain torn from them, but you can make them very clean, you wont need the mallet for this, hand power will be plenty with sharp chisels.
-
-
-
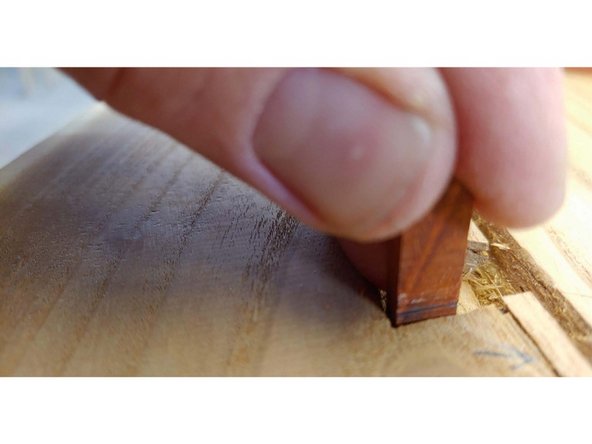
Make a depth gauge I just used a scrap from the band saw. Hold it perpendicular to the butterfly, mark it with a pencil then set it in the pocket to check depth, keep repeating step 5 until the line just matches.
-
You will want the butterfly to be just proud of the surface, if the butterfly gets inserted below the surface you will have to sand all that material to make it flush.
-
Once the first half is complete cut in the second half, check depth and start fitting the part
-
The butterfly should fit snuggly you want it tight enough that you need to tap it in with a mallet, but not so tight that it will jam up or break one of the parts.
-
Once you are happy with the fitment put a little glue in the pocket and spread it around, then tap the butterfly in place. You don't want excessive glue, if it drips into the crack you are strengthening it will show and always be very obvious.
-
If you have some little gaps don't try to fill them with PVA glues! The PVA will not take finish and will always show. My preference is to use hide glue, it takes finish well and fills small gaps ok. Epoxy tinted with one of the two species' sawdust also works well.
-
-
-
Prevent a crack from spreading, or highlight a flaw in the wood (Wabi-Sabi). This floating shelf is made from Russian olive with Padauk highlights
-
Decorative. This cutting board (kitchen art) is made of white oak with Wenge butterflies
-
A Functional repair. This chair is made of walnut with the repair parts done in Black Limba
-


Cancel: I did not complete this guide.
One other person completed this guide.