Introduction
This tutorial will show you how to make a simple, reusable facemask that can help you and your family stay safe during the coronavirus outbreak! These masks are not for use by medical professionals! They are reusable but must be washed after each use, so make a few so you can switch throughout the day! Stay safe Makers!
Parts
No parts specified.
Featured Document
-
-
Attached to this guide you will find a cutout stencil of a design by ashevillejm (https://www.instructables.com/id/DIY-Clo...). She has made several sizes and iterations of the mask. Here I used the regular size mask 2 design. Download and print the stencil.
-
Trace the stencil onto a piece of craft plastic or cardboard and cut it out.
-
-
-
Time to repurpose those old t-shirts you never wear!
-
Fold a shirt in half so that you have four layers of fabric. Pin your stencil to a patch and cut it out.
-
If any of your layers are connected, cut them apart. You should have four mask shaped cuts of cloth.
-
If you want your mask to include a graphic from the shirt, make sure to lay the stencil on that part. We will be flipping the mask inside out after we sew, so make sure the graphic is the innermost layer and will face out when you flip it inside out.
-
-
-
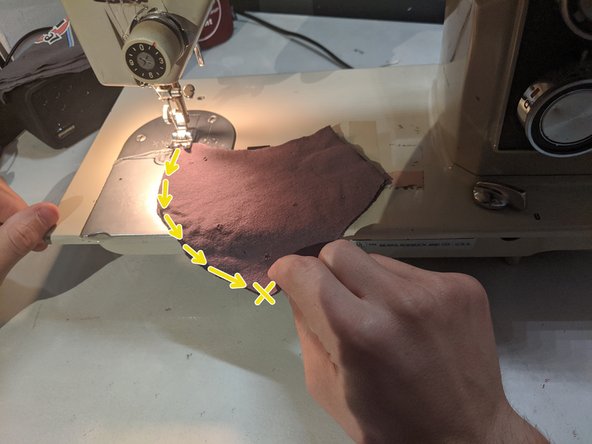
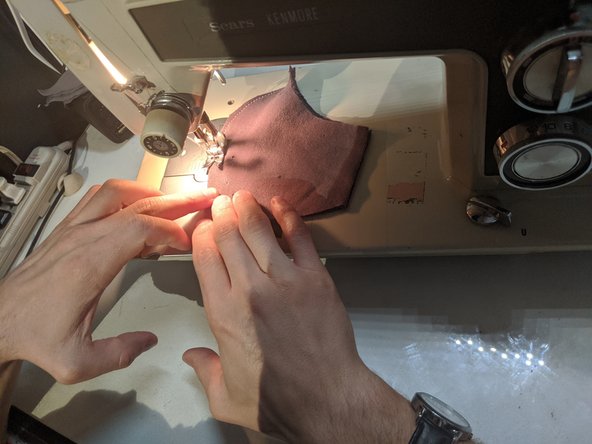
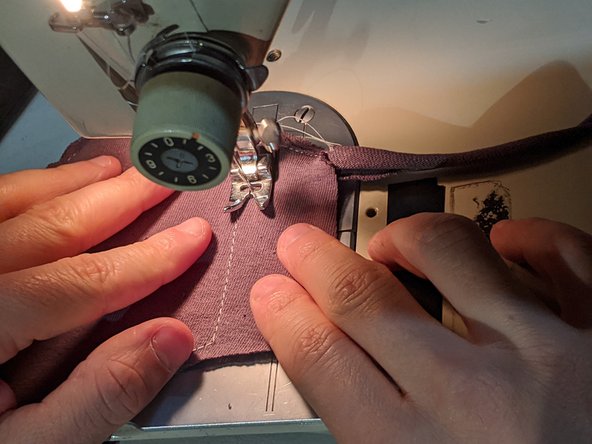
Line up all four of your layers and sew them together from the large point at the top (which will be the nose piece) down to the bottom flat edge (where your chin will go). Stop at the bottom edge but don't cut your string just yet.
-
-
-
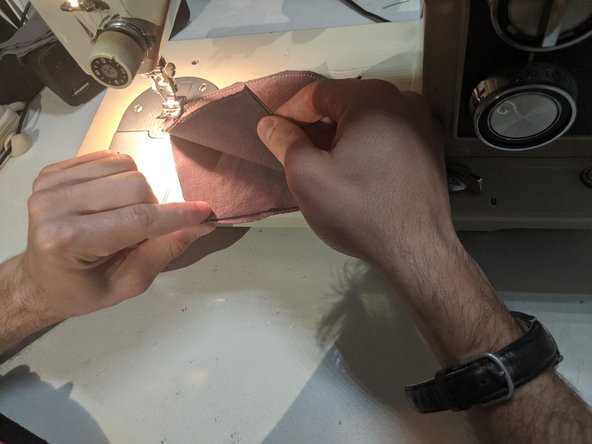
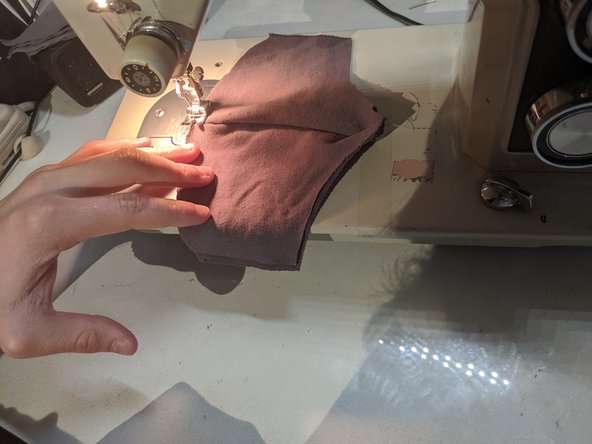
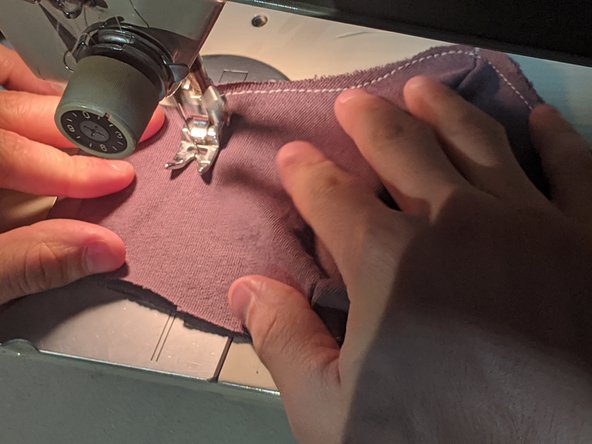
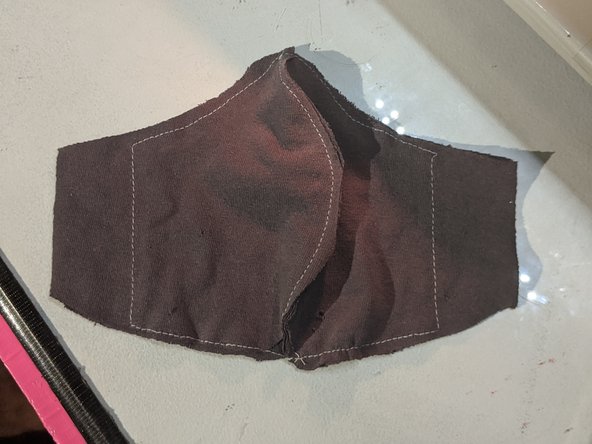
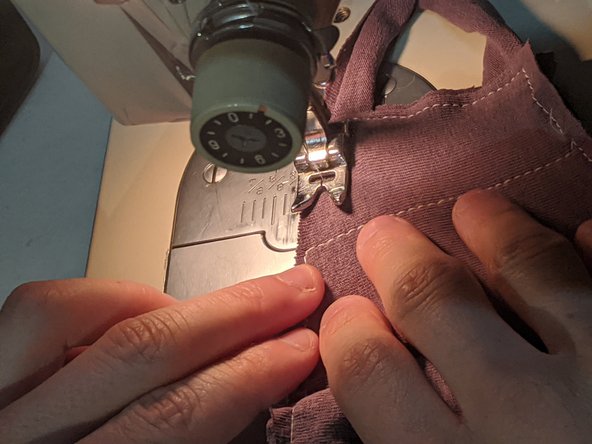
Unfold your mask so you have two layers of cloth on either side. Start sewing along the outline of the mask, but stop about an inch away from the sides. Turn 90 degrees and sew to the other side. Continue until you have sewn the entire outline, then cut your string and tie the loose ends.
-
-
-
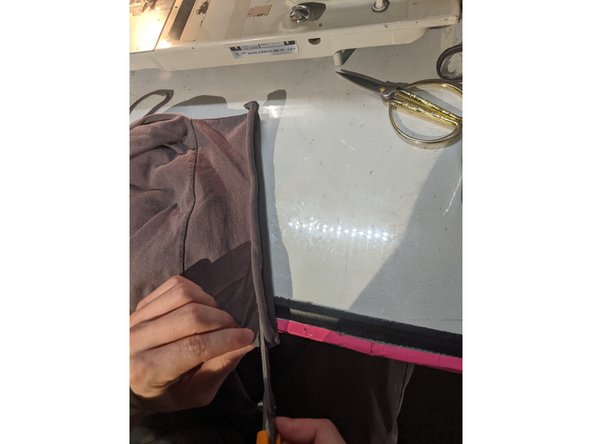
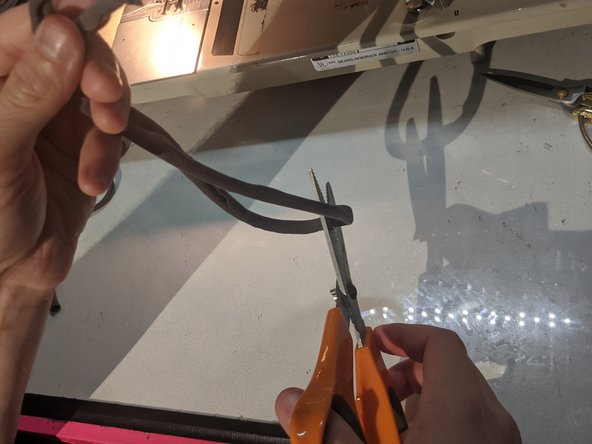
Stretch out one of the sleeves and cut a strip about 1/4 inch thick.
-
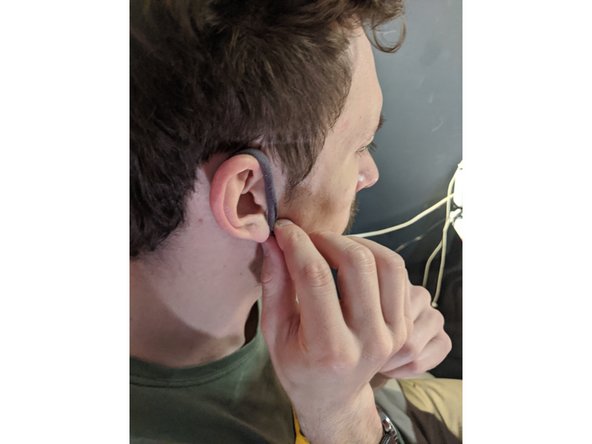
Cut it into two strips and measure the length around your ears and cut them to that length.
-
-
-
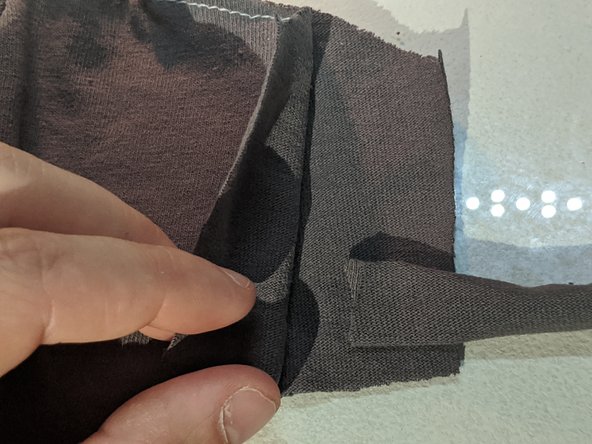
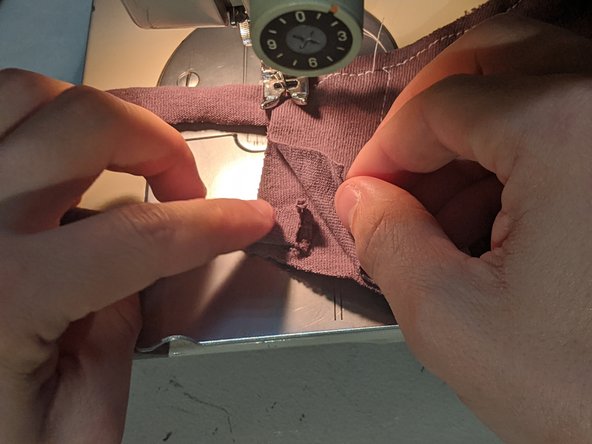
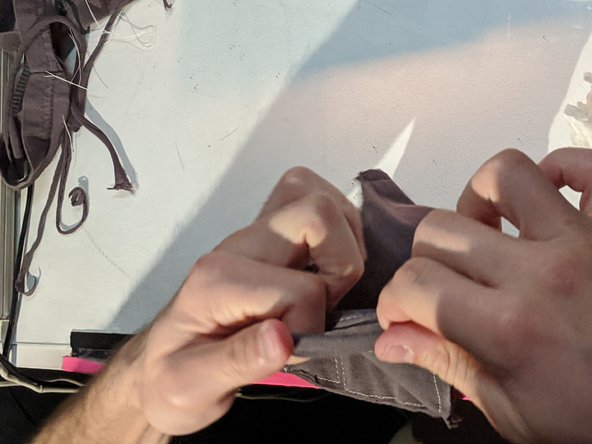
Unfold the layers and place the earloops about 1/8th of an inch away from the top of the mask. Fold your top layer back over and sew across it.
-
Sew down until you are about an inch away from the bottom and place the bottom strap between your two layers. Sew across it to the bottom and then turn the mask 90 degrees.
-
-
-
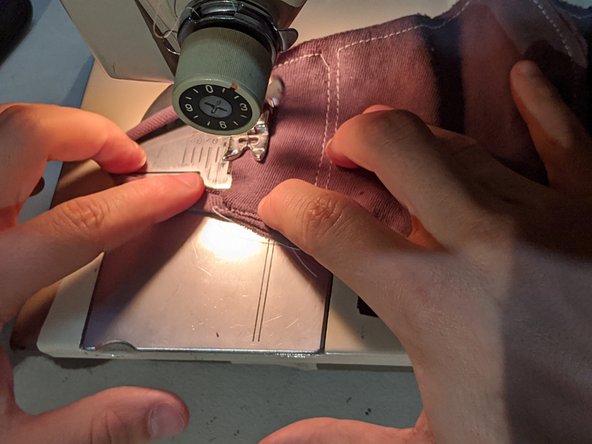
Continue until you meet the outline stitch. Turn 90 degrees and work your way back to the top. Turn again and sew until you meet your first strap.
-
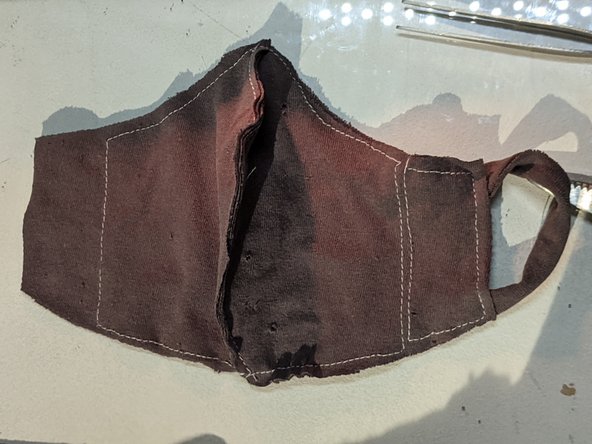
You should have a box shape now. Cut the strands and tie them.
-
Repeat these steps for the second earloop.
-
-
-
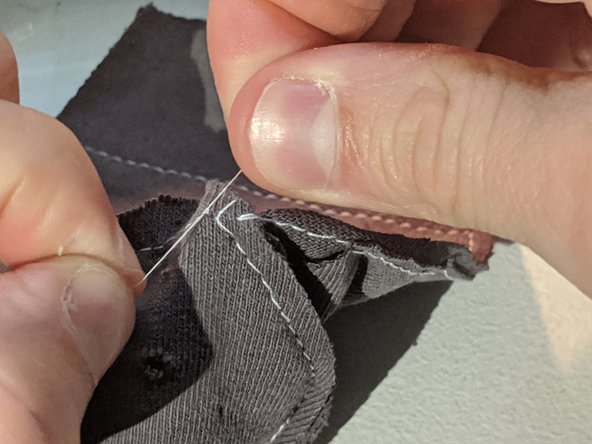
C'est fini! Make sure that all of your loose ends are tied up and then give 'em a tug to make sure they're holding.
-
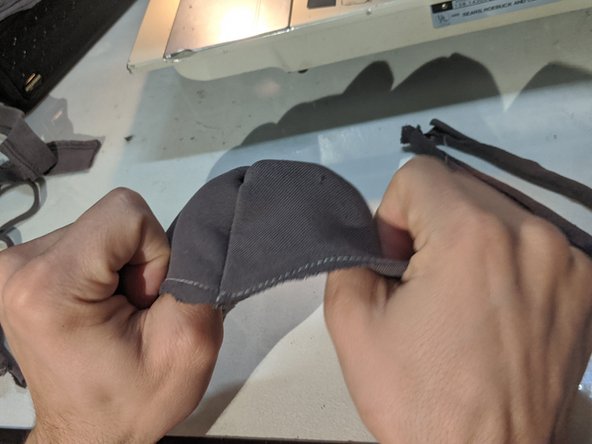
Flip the mask inside out and trim up any loose fabric that might irritate your face.
-
-
-
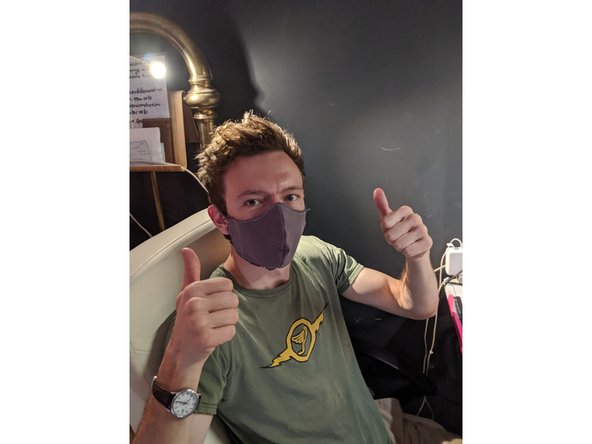
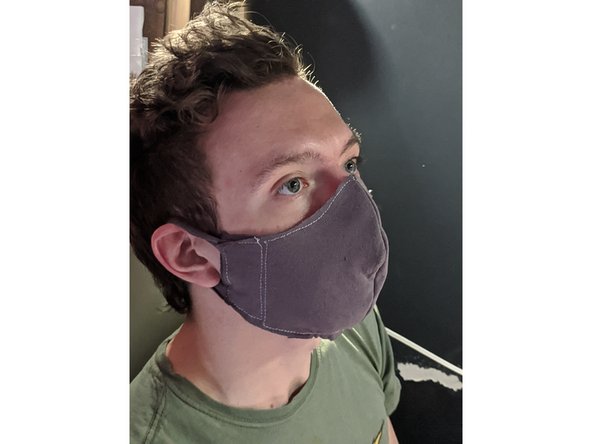
Now wear your mask and do your civic duty to help flatten the curve!
-
Remember that these masks must be washed after every use. In fact, it can put you even more at risk for contracting or spreading COVID-19 if they are used improperly. Always handle with clean hands and put them through the wash before using them again.
-
Make a few extras so you can change them out as needed.
-
Happy Quarantining!
-


