Difficulty
Easy
Steps
12
Time Required
00:04:00 - 00:10:00

User-Contributed Guide
This guide is not managed by the site's staff.
Quiz
0
Video Overview
-
-
Keep in mind you are handling a $500 piece of Equipment when following these steps
-
Make sure you have a clean work space before proceeding with these steps.
-
Make sure your clean work space is also clear of any clutter or mess
-
WASH YOUR HANDS!!! Please :)
-
-
-
Keep in mind you are handling a $500 piece of Equipment when following these steps
-
In the Maintenance Cabinet (large grey cabinet near front door), open the bottom door.
-
On the top shelf, there is a yellow bin. Inside you will find everything you need to clean/replace the len's or mirrors of the Epilog Laser machine.
-
Grab some Q-tips (located in the consumables cabinet) and the Len's Cleaner, which is in the yellow bin from earlier
-
-
-
Keep in mind you are handling a $500 piece of Equipment when following these steps
-
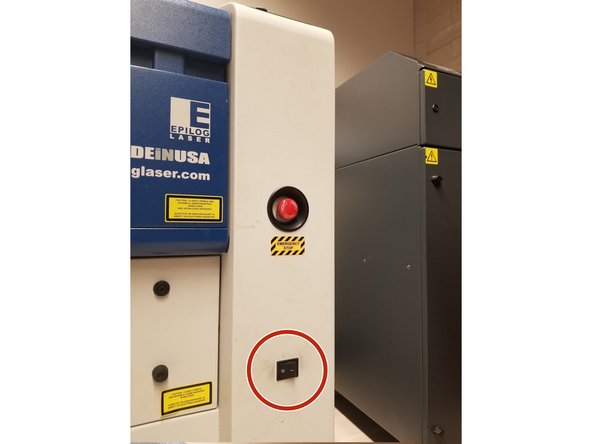
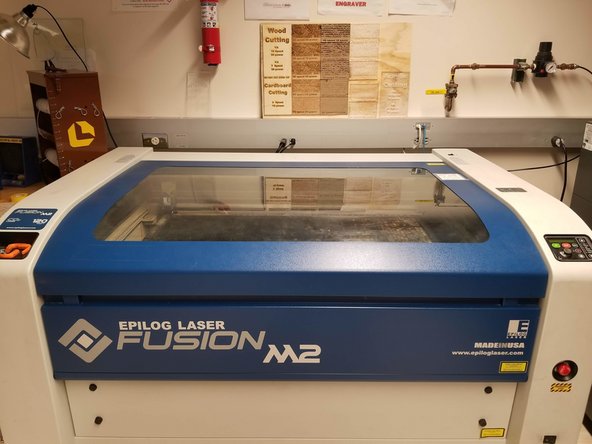
If the Epilog Laser Machine is on, turn it off using the switch (located on the front bottom right).
-
Open the Epilog Laser's Lid
-
-
-
Keep in mind you are handling a $500 piece of Equipment when following these steps
-
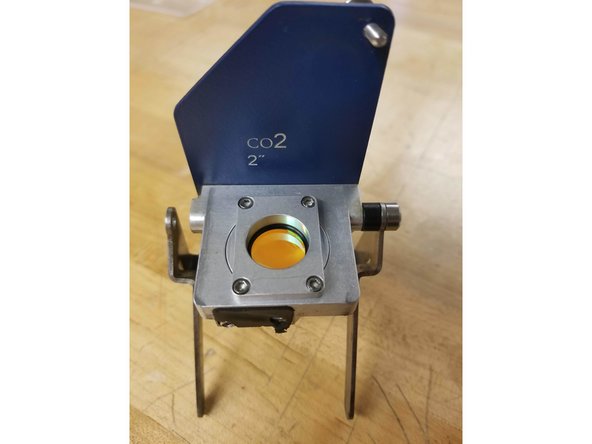
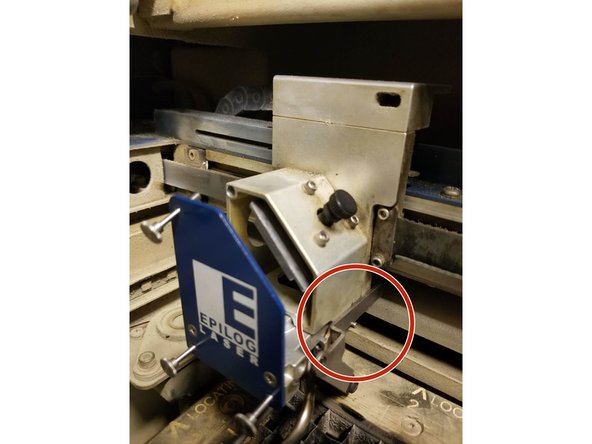
Unscrew all threw thumb screws until lose enough to take out Lens/Len's holder
-
Take out Len's Holder, which contains the Epilog Laser Len's on the inside
-
For the steps that follow you will need to be in a clean and clear area
-
-
-
Keep in mind you are handling a $500 piece of Equipment when following these steps
-
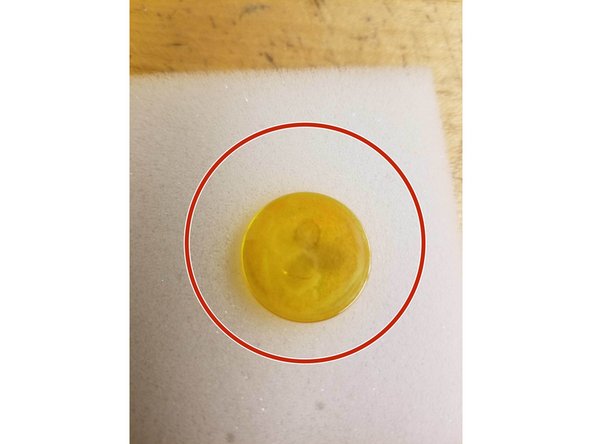
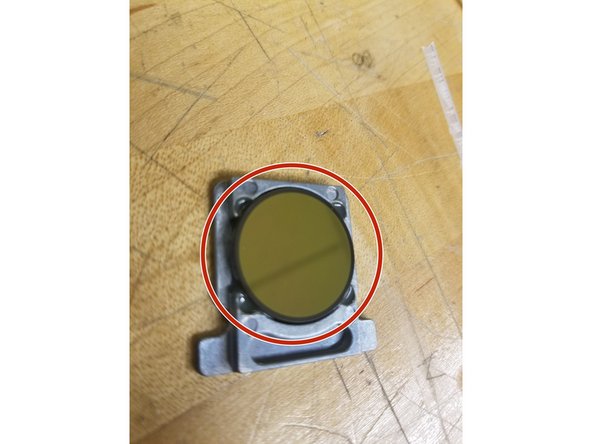
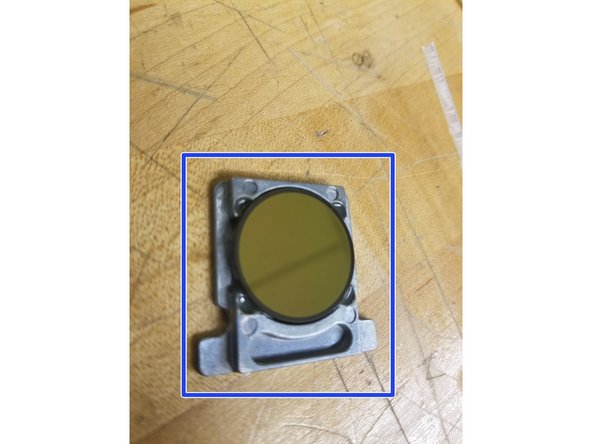
The Len's Holder holds the Lens of the Epilog Laser. The Len's looks like a clear, yellow, round piece of glass. The actual laser of the Laser Engraver travels through this lens when making cuts/rasters/engravings
-
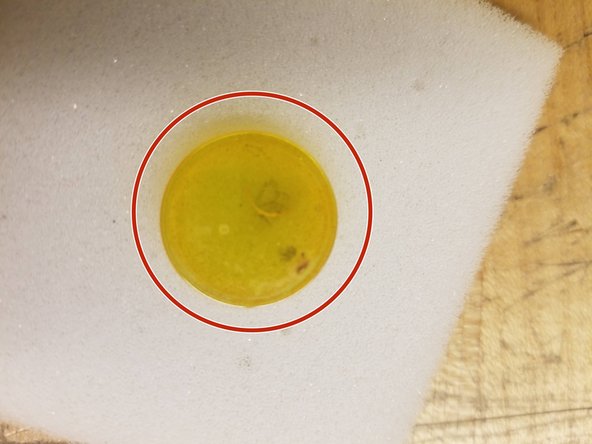
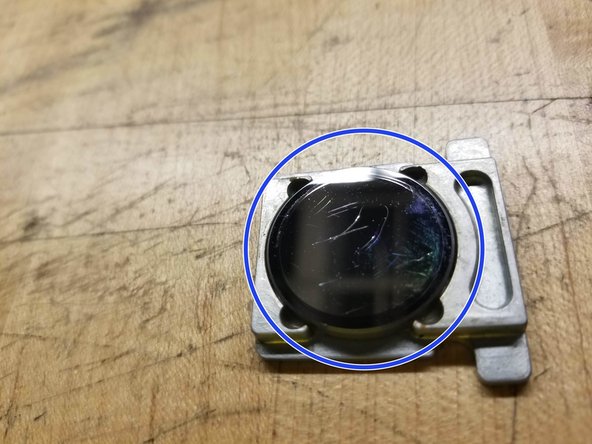
Check for burns and/or scratches. If the Len's looks anything like the provided pictures, it will need to be replaced
-
Please see len's replacement Guide if len's needs to be replaced.
-
-
-
Keep in mind you are handling a $500 piece of Equipment when following these steps
-
Unscrew the cap of the Len's Cleaner and insert Q-tip. Only a small amount of liquid is needed to clean the Len's
-
Starting from the top of the len's, use downward motions with the Q-tip to clean the dirt off the len's. If you have ever painted before, it's like brush strokes.
-
Both sides of the len's needs to be cleaned in this manner
-
Once the Len's is cleaned, make sure both sides are dry. If not dry, use a dry Q-tip to get rid of any moisture
-
-
-
Keep in mind you are handling a $500 piece of Equipment when following these steps
-
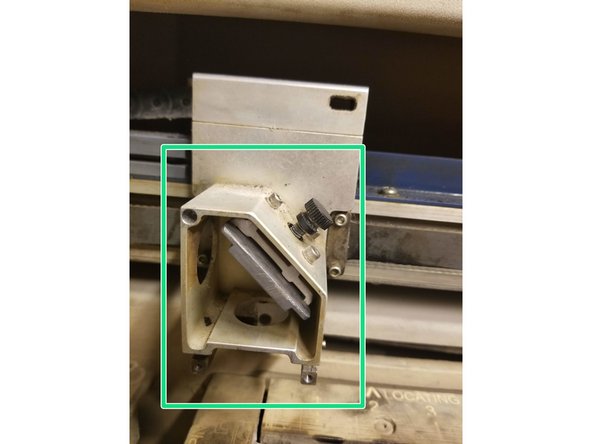
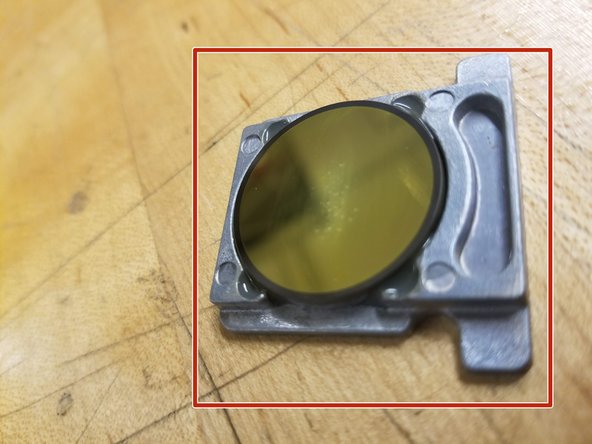
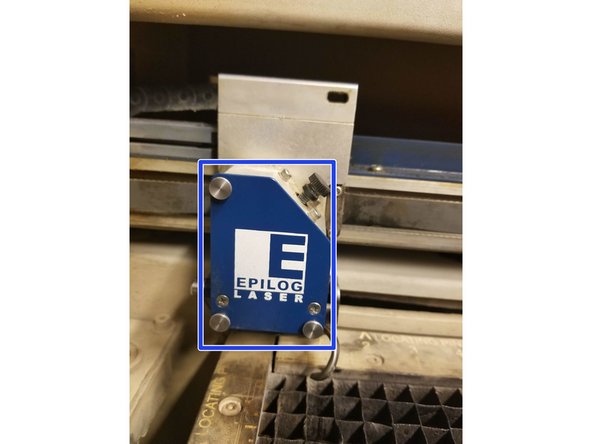
The Len's Holder can also get pretty dirty, so it is important to keep this piece clean as well
-
If there is a small amount of dirt, a Q-tip and some water will work well
-
If there is a large amount of dirt, a cloth and water will be needed to scrub away the dirt. Be careful to avoid the len's when doing this- it could get scratched.
-
If the Len's Holder is cleaned often enough, this major clean shouldn't be necessary
-
The Len's Holder should look as clean as it does in this photo
-
-
-
Keep in mind you are handling a $500 piece of Equipment when following these steps
-
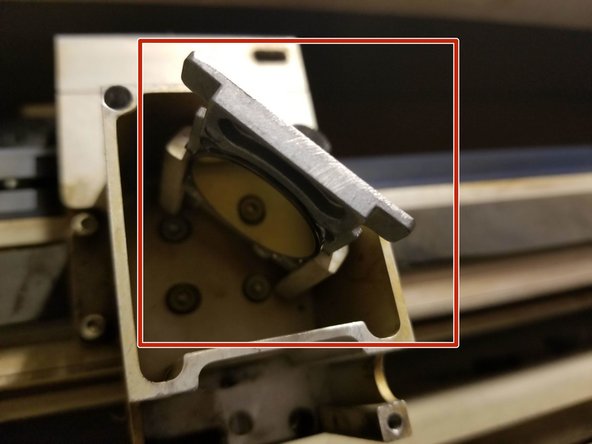
Unscrew the big black screw
-
Gently Take out the mirror
-
-
-
Keep in mind you are handling a $500 piece of Equipment when following these steps
-
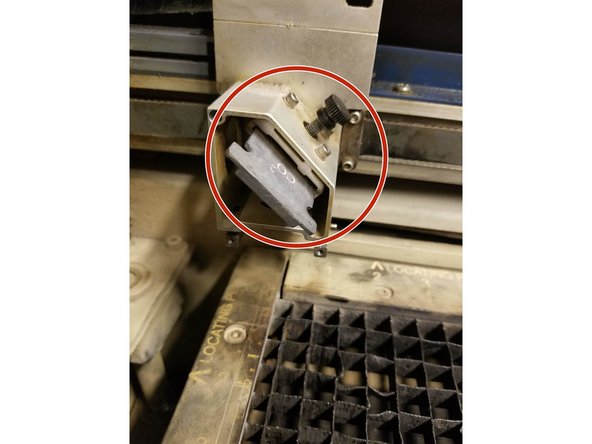
Check mirror for scratches/burns
-
The Mirror should look like this
-
The Mirror should not look like this
-
If mirror needs to be replaced, See Len's replacement guide
-
-
-
Keep in mind you are handling a $500 piece of Equipment when following these steps
-
Starting from the top of the mirror, use downward motions with the Q-tip to clean the dirt off the mirror. If you have ever painted before, it's like brush strokes.
-
This is exact same process as cleaning the len's
-
Once the mirror is cleaned, make sure it's dry. If not dry, use a dry Q-tip to get rid of any moisture
-
-
-
Keep in mind you are handling a $500 piece of Equipment when following these steps
-
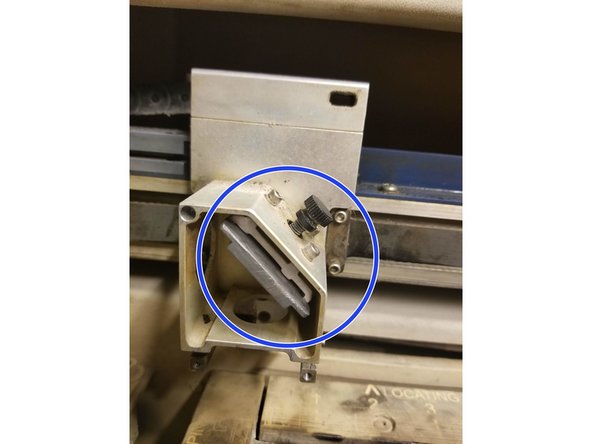
Place mirror back into its original slot. The mirror should be in south west direction
-
Screw big black screw back into place. Screw it tight enough for the mirror to stay in place- if screwed too tightly the mirror can crack
-
-
-
Keep in mind you are handling a $500 piece of Equipment when following these steps
-
Place Len's/Len's Holder back into it's original place
-
When putting it back into place, rest the two legs on the side screws
-
Screw the thumb screws back into place
-
Close the Epilog Laser Lid
-