Introduction
Learn how to fix printers that continually fail on the first layer due to a bed that is not level.
Video Overview
-
-
The left example is pressed into the bed too far, resulting in unwanted overlap.
-
The right example is not close enough to the bed, resulting in poor adhesion to the bet. You can see gaps between the different lines
-
The bed may look like a gradient from right to left if one side of the bed is too high and the other is too low.
-
-
-
Press the knob.
-
Scroll down and select Stop Print
-
Clear any plastic off the bed: removing, scraping, and reinstalling if necessary.
-
-
-
Press the knob
-
Select Prepare
-
Select Auto Home
-
Wait for printer to return to home
-
-
-
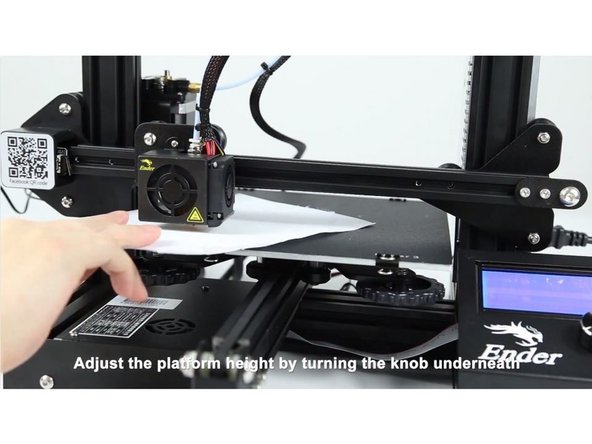
Move the printer head directly over the front left knob.
-
Twist the knob right to raise the bed closer to the nozzle.
-
Twist the knob left to lower the bed away from the nozzle.
-
Push the business card (piece of paper in the picture) back and forth. Adjust the knob so that you feel the nozzle and bed lightly pinch the business card.
-
It should still be easy to move the business card back and forth., though you should definitely feel the friction from the nozzle.
-
-
-
Repeat the previous step on the remaining 3 corners
-
Repeat once more on all 4 corners
-
This means that you will level each corner at least twice
-
You should now have a level bed
You should now have a level bed
Cancel: I did not complete this guide.
One other person completed this guide.


