-
-
MATERIAL YOU SHOULD NEVER CUT
-
PVC (Poly Vinyl Chloride)
-
Polycarbonate/ Lexan
-
ABS Plastic/ Foam
-
HDPE
-
Polystyrene/ Polypropylene Foams
-
Epoxy
-
Fiberglass/ Carbon Fiber
-
-
-
Grab the yellow handle.
-
Rotate the handle 90 degrees counter-clockwise.
-
The pressurized air is now on.
-
-
-
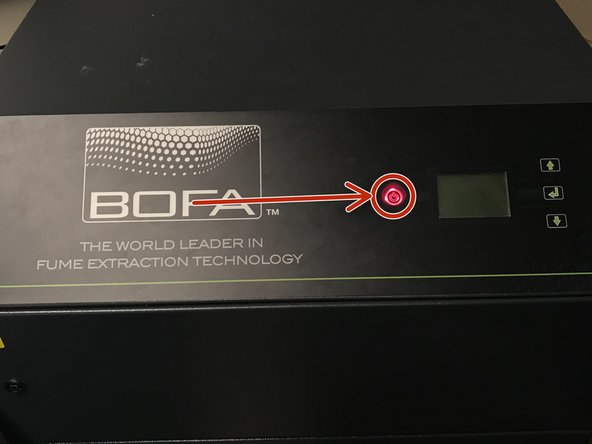
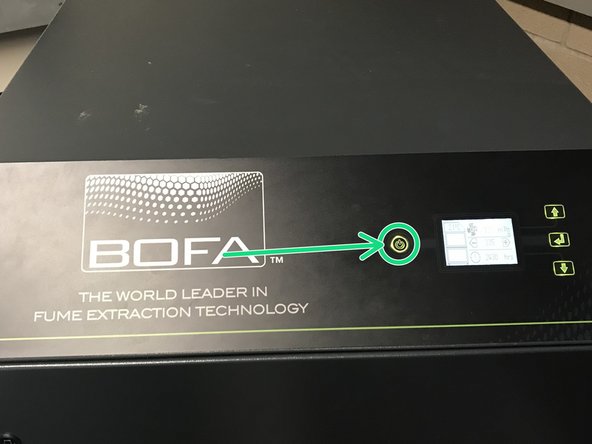
Press the red button on the BOFA filter.
-
If the button is green, the filter is on.
-
-
-
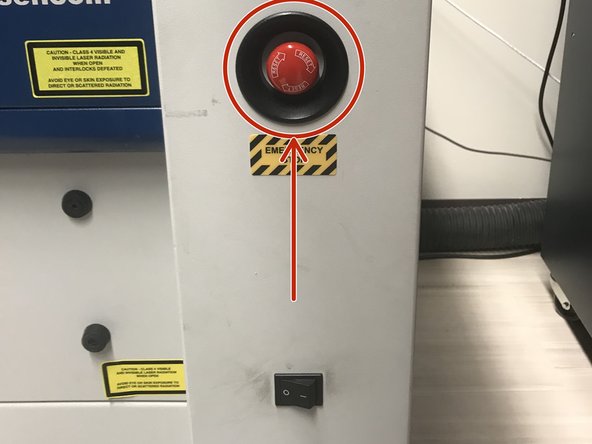
Press the Emergency Stop circled in red if there is a fire or any other emergency.
-
Make sure the emergency stop is off by pulling and twisting the button out.
-
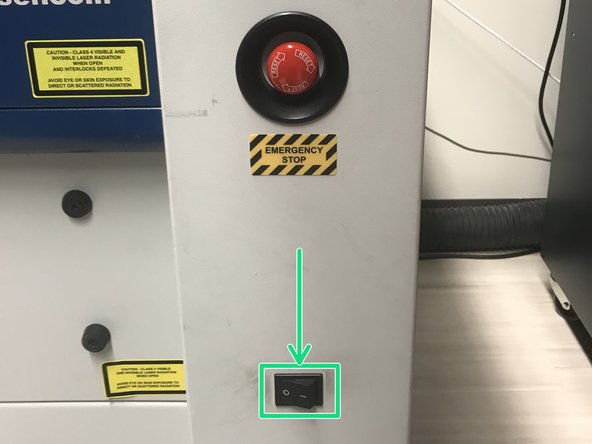
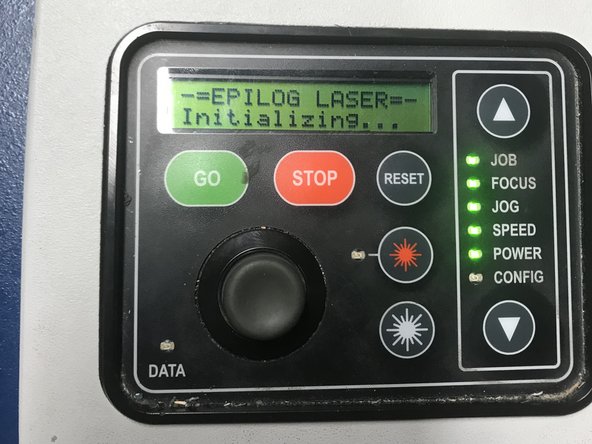
Turn the laser on by flipping the power switch from the left to the right.
-
The laser will light up and start initializing. Wait for the lights to stop before moving to the next step.
-
-
-
Place your material in the laser on the edge of the bed
-
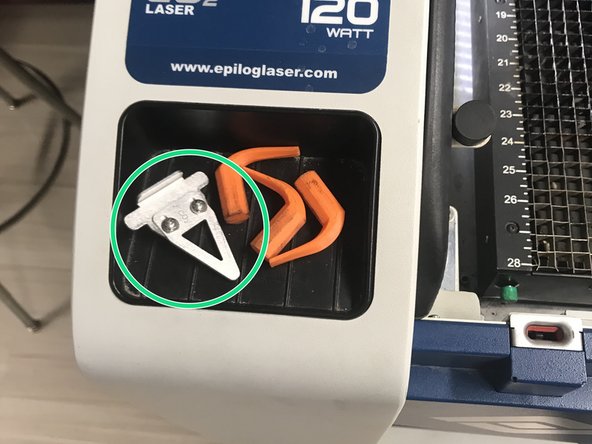
Find the focus tool on the left side of the laser.
-
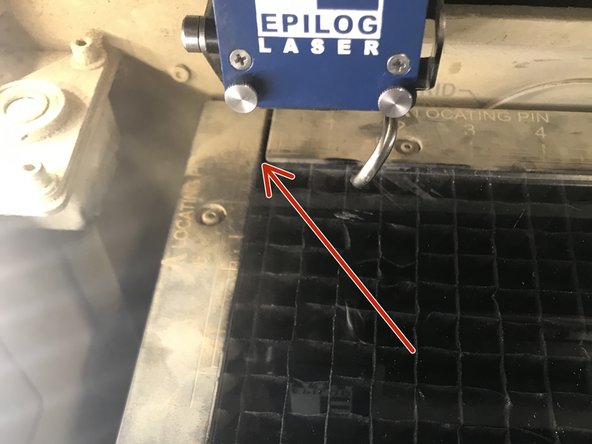
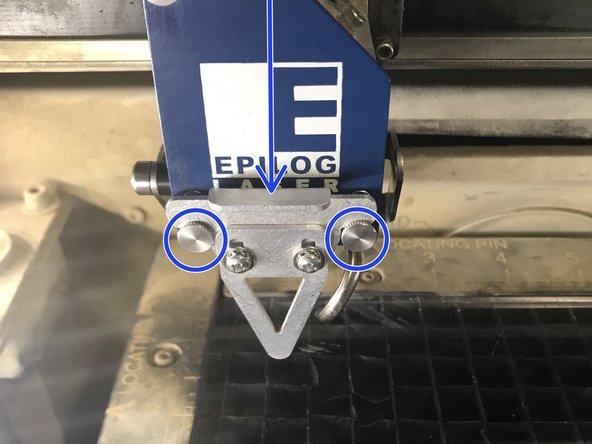
Place the focus tool in between the two pins on the laser head.
-
-
-
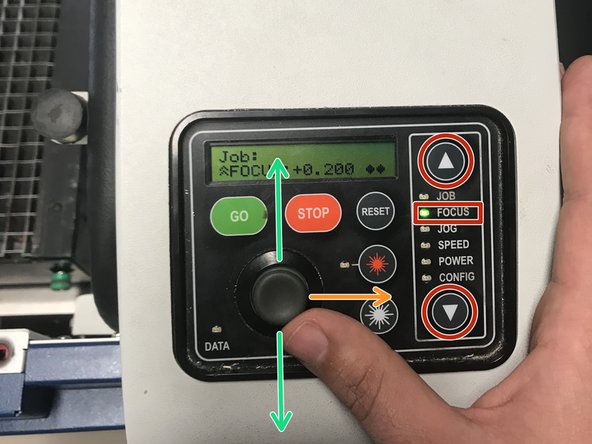
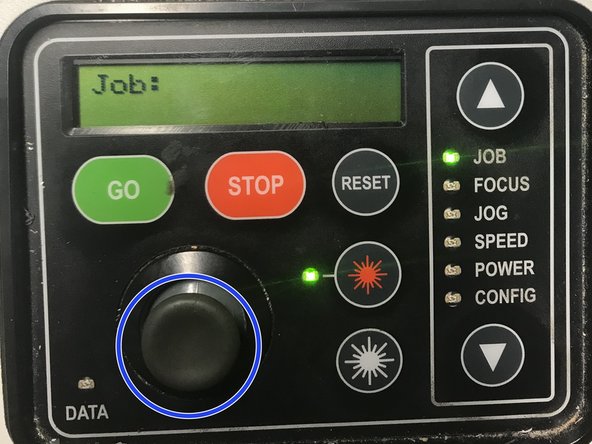
Select FOCUS using the menu arrows on the right side of the laser.
-
Use the joy stick to move the laser up and down.
-
Move the joystick to the right to change the vertical movement speed of the laser.
-
Move the laser head until the focus tool is barely touching your material.
-
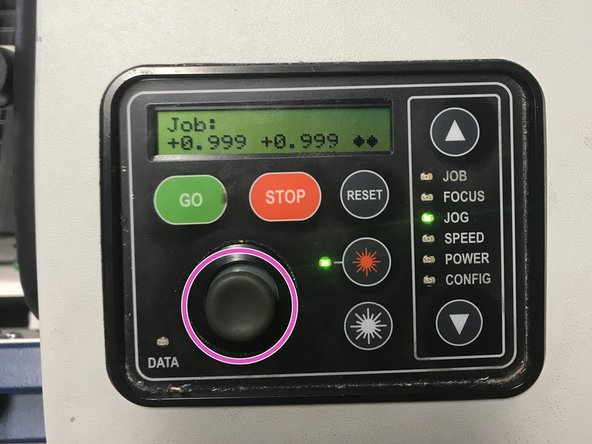
Press the joystick in to focus the laser.
-
Remove the focus tool from the laser head and put it back on the left side of the laser.
-
-
-
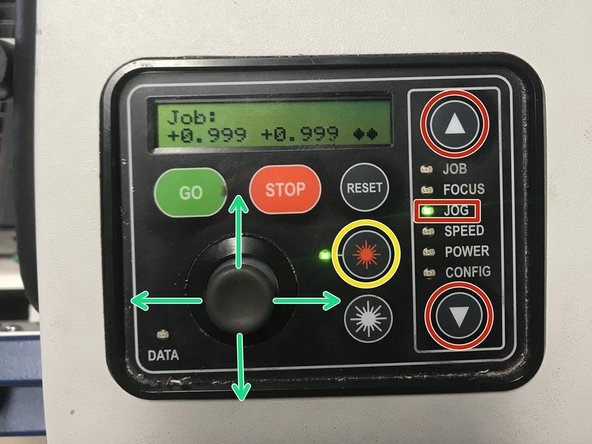
Select JOG using the menu arrows on the right side of the laser.
-
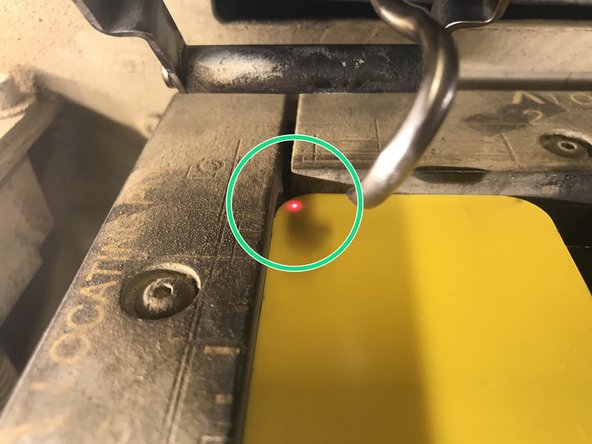
Press the red laser button to activate the laser guide.
-
Move the laser with the joystick the the corner of your material.
-
Press the joystick in to finish jogging the laser.
-
-
-
Using CorelDraw on the computer next to the laser engraver, set up your file for engraving. Acceptable file types include:
-
PNG, JPEG, SVG, PDF, CDR, EPS, PRN, TIFF, GIF
-
-
-
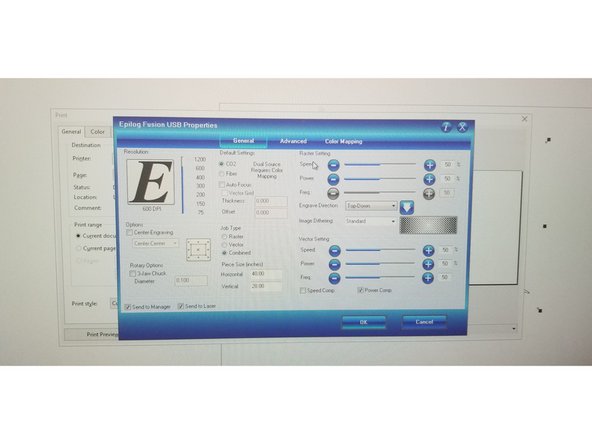
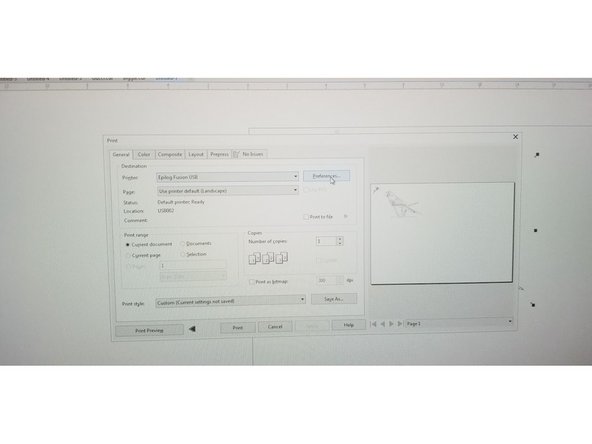
Click ''print' from the File menu and then select print preferences. Change the print preferences according to this table. 'https://airtable.com/shrUQWFsDOZFTAnH1/t...
-
Still confused? Ask a facilitator for help :)
-
-
-
Send the file to the printer by pushing control P then enter. A new job should pop up on the laser control panel screen. If it doesn't, repeat the process above once more. Then press the green GO button to print.
-