Tools
Parts
No parts specified.
-
-
You can either open Photoshop and click file open, or locate the file, right click and click open with, then select Photoshop.
-
-
-
You should always work off of a copy in Photoshop, that way if something gets crazy you can just go back to the original. If you are doing extensive modifications to a photo it's wise to save periodically.
-
-
-
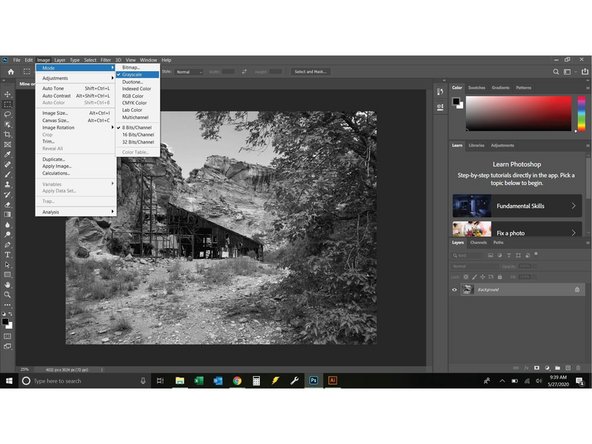
Click Image => Mode => Grayscale. You will see a prompt that says "discard color information?" select 'yes'.
-
-
-
Depending on what you are creating the black and white image for you will want to make some adjustments.
-
If you are setting up a picture for laser engraving try to get it as light as possible while still keeping all the details you want. You can always burn the image again if it is too light, but you cant easily lighten a laser engraving.
-
If you are setting up a photo for print try to make it as readable as you can on the screen, you may find that the image prints differently than it displays on your computer. It will even vary from display to display.
-
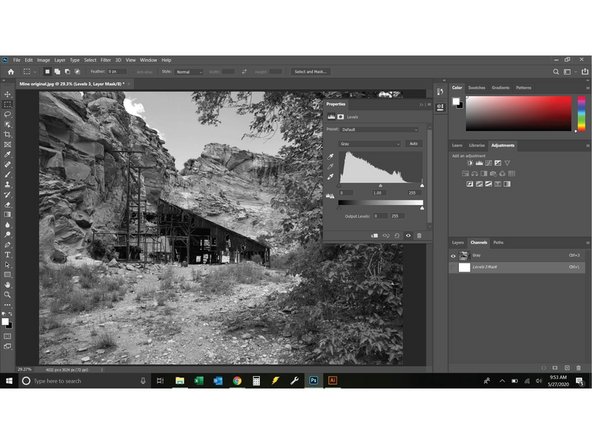
Click on Window => adjustments.
-
First: Adjust brightness and contrast, you can use the auto adjust feature or work with it until you are satisfied.
-
Another useful tool in this menu is the levels tab. Grab the middle slider (second picture) and move it to the left and right, usually for the laser you will want to move the tab towards the highest point on the chart.
-
The next point to adjust is the curve. Play with this a little, in my experience it is easiest to add only one point to the curve.
-
Finally adjust exposure. It is really easy to wash out detail with exposure so be judicious in it's use. I Find I rarely have to mess with this once the rest is dialed in
-
-
-
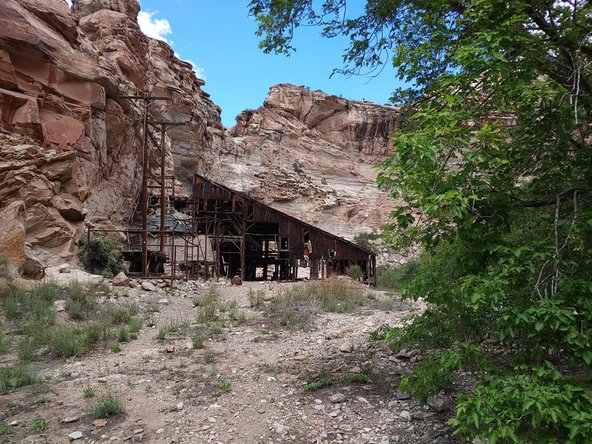
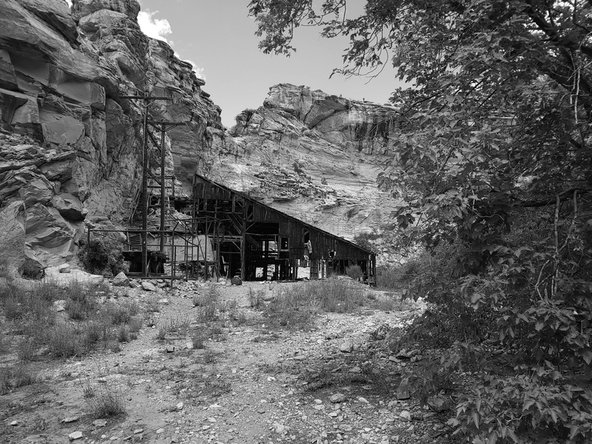
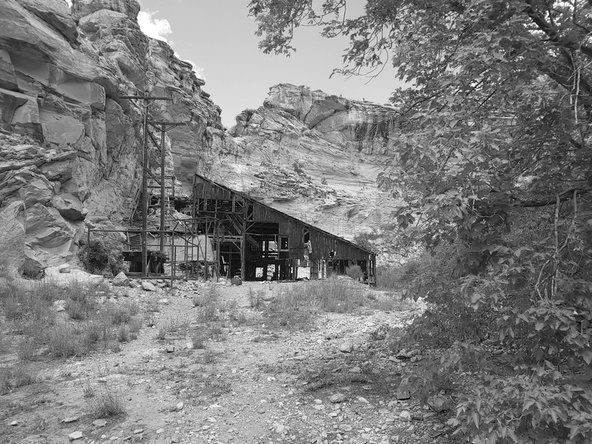
Photo progression: color, unedited black and white, the final photo was edited exactly in this guide to bring out more detail.
-
Make sure to save your image: you will want a Photoshop file but also export it as a JPEG to maximize compatibility.
-
-
-
In this tutorial you will learn how to take a photo from its original state to olde tyme style Sepia Tone.
-
-
-
Find the original photo you used to create your black and white and open it in photoshop.
-
-
-
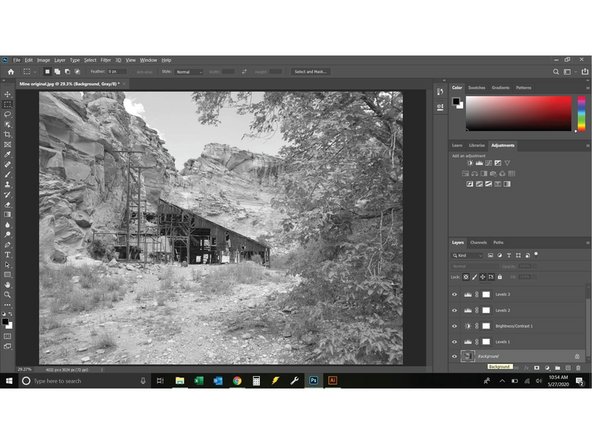
In the bottom right corner select the layers tab. Then select the "background layer"
-
(Ignore this photo changing to black and white, I did something out of order)
-
-
-
In the layer section click the menu button, select convert to smart object.
-
A new layer will populate, it will probably be called "layer 0".
-
-
-
Click on the Filter menu, then click camera raw filter.
-
If this is your first time using camera raw you will be prompted for a tutorial. Skip it for now. You may get a GPU error depending on your computer, don't worry about it you can still work with this tool!
-
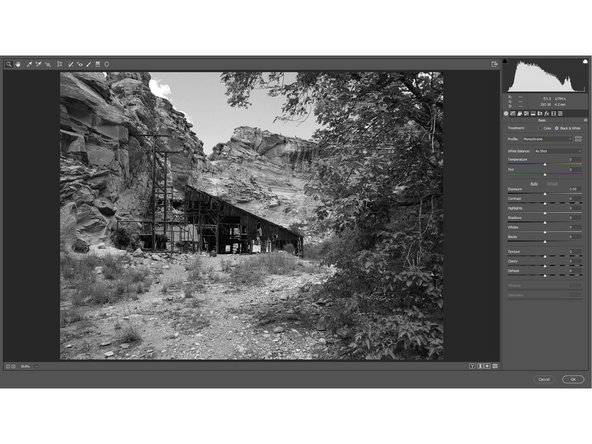
If camera raw doesn't open full screen go ahead and make it full screen (see pic 2).
-
Select black and white under treatments.
-
-
-
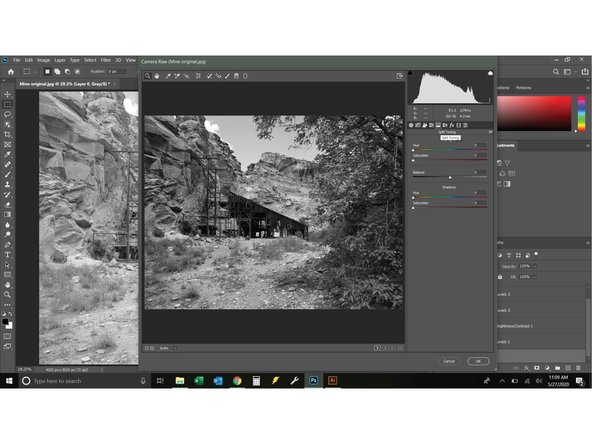
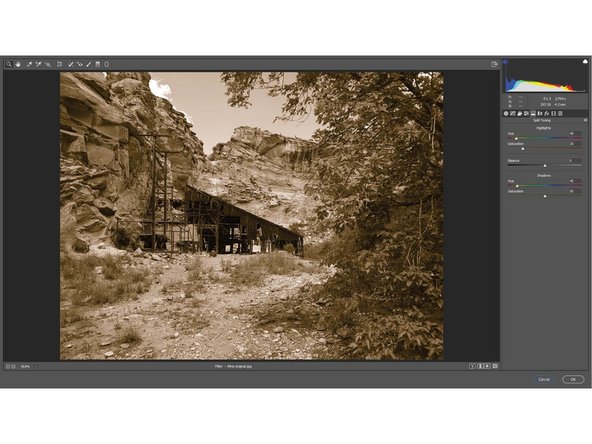
Open the split toning tab
-
Set the highlights hue and saturation to 40 and 20, set the shadows to 45 and 50. This is generally a good starting point, you can dial it in to your liking.
-
-
-
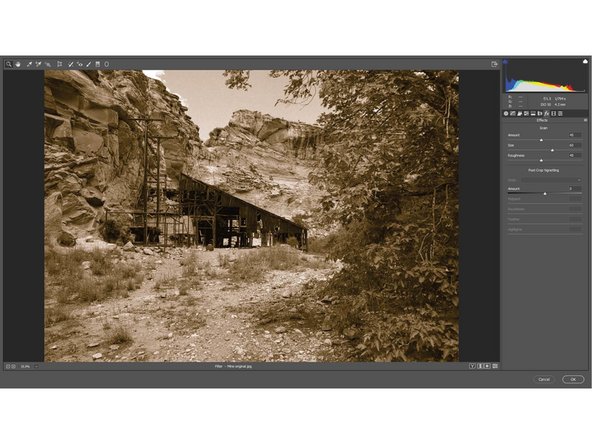
The color should look pretty good now, but the image will be really sharp for an olde tyme sepia tone photo.
-
Open the effects tab
-
Set the grain amount to 45, size to 60 and roughness to 45 to start. You can then adjust to your desired finish.
-
-
-
A vignette will fade the corners for us, adding to the old world feel.
-
You can set the settings however you like, a +65 amount is a good start. Normally with a photo you would make the Vignette amount negative to emphasize the middle of the photo, but here we are using it for the aged look.
-
-
-
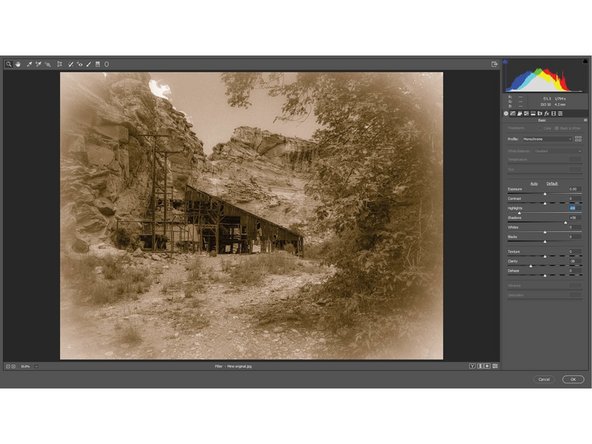
To create a faded look we will reduce overall contrast.
-
In the "basic" tab reduce highlights, increase shadows and reduce clarity.
-
-
-
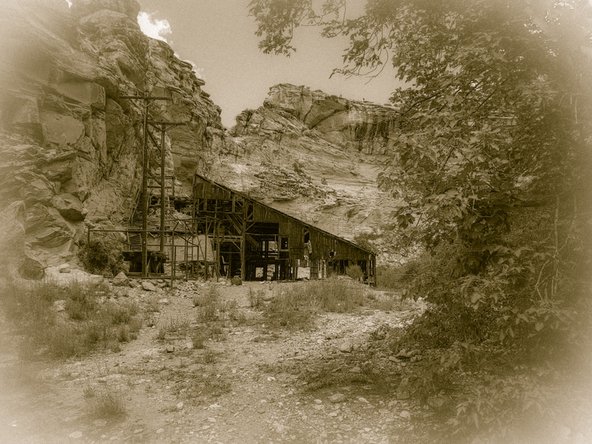
Don't forget to save your changes, under a new file name so you can keep the original easy to access.
-