
Difficulty
Easy
Steps
7
Time Required
00:05:00

User-Contributed Guide
This guide is not managed by the site's staff.
Quiz
0
Introduction
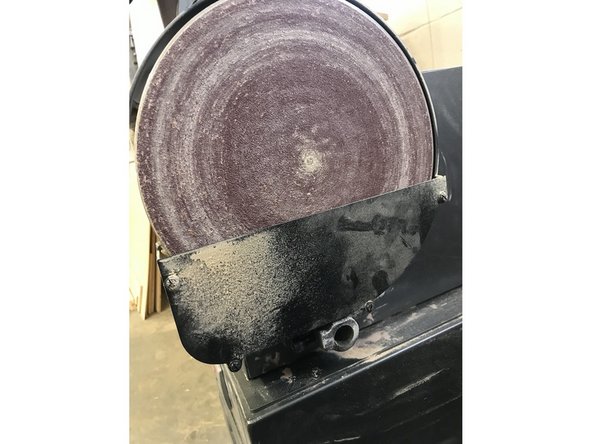
Discs on the belt/disc sander often get worn down or torn over time. When this happens, they need to be replaced. This guide will show you how to replace discs on the Jet Belt/Disc sander.
Tools
Parts
No parts specified.
-
-
Before doing maintenance on any machine, make sure it is turned off and unplugged to reduce risk when working.
-
Locate the switch on the left hand side of the machine, and make sure it is in the off position.
-
Unplug the machine from the wall outlet.
-
-
-
In order to get to the disc, we need to remove the table in front of the disc.
-
Underneath the disc, loosen the left-most screw with a 6mm hex key.
-
Once it is loosened enough, the table will slide out.
-
-
-
There is a guard on the lower half of the disc.
-
Take out the 4 screws and remove the guard.
-
-
-
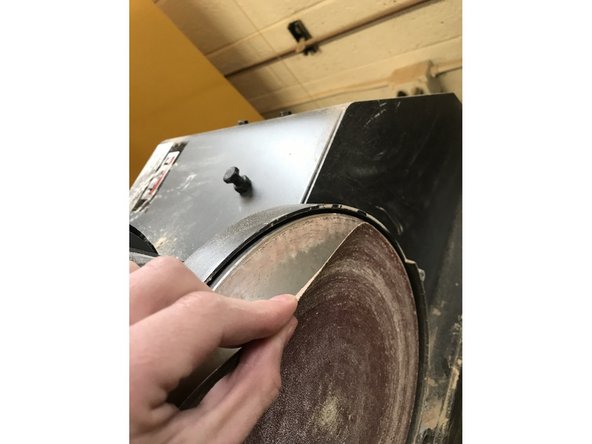
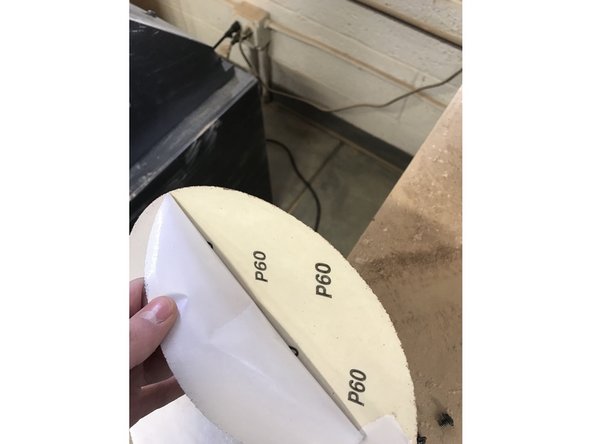
Peel the backing off the new disc to expose the adhesive.
-
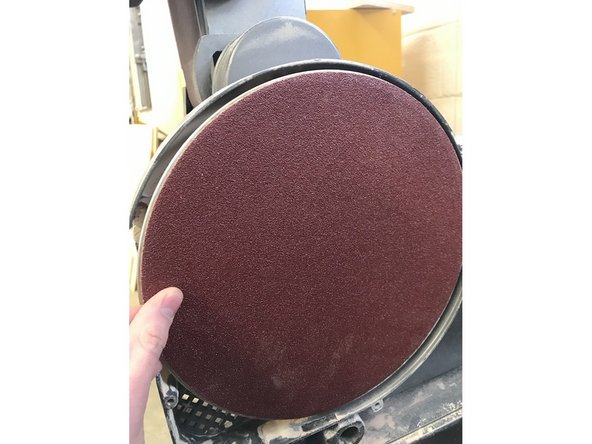
Press the disc onto the machine, making sure it is as center as possible. Press firmly all around to ensure that it is adhered everywhere.
-
-
-
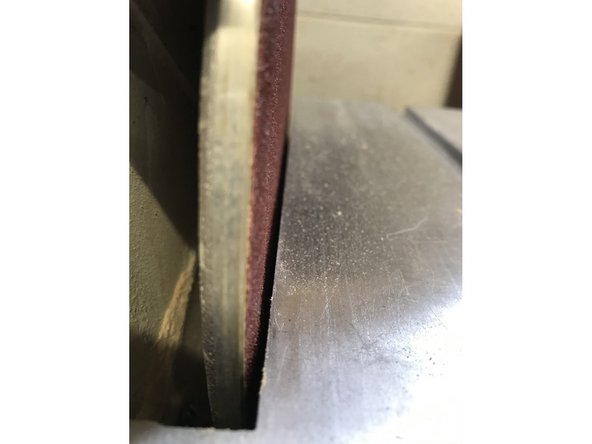
Put the table back, and retighten the screw with the 6mm hex key.
-
Make sure there is a small gap between the table and the disc. This ensures that the disc is not being worn down by contact with the table.
-
-
-
Plug the machine back in and turn it on. Make sure the disc is spinning at its center point, and that there are no scraping sounds from the table.
-


You have learned how to replace the disc on the Jet Belt/Disc Sander
You have learned how to replace the disc on the Jet Belt/Disc Sander