
Difficulty
Easy
Steps
9
Time Required
00:10:00

User-Contributed Guide
This guide is not managed by the site's staff.
Quiz
0
Introduction
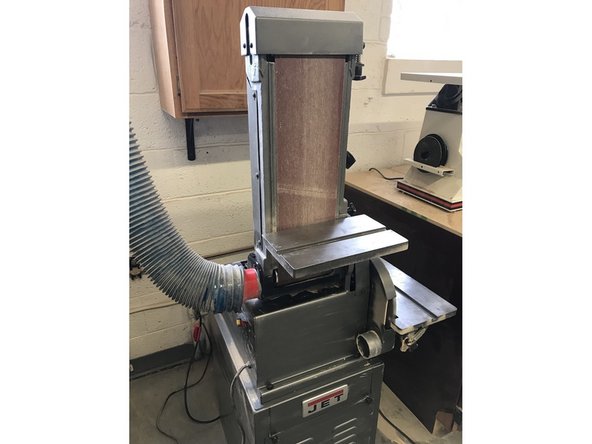
Over time, the sand paper on the belt sander can get worn down or torn. When this happens, it needs to be replaced with a new belt. This guide will show you how to properly replace belts on the machine
Tools
Parts
No parts specified.
-
-
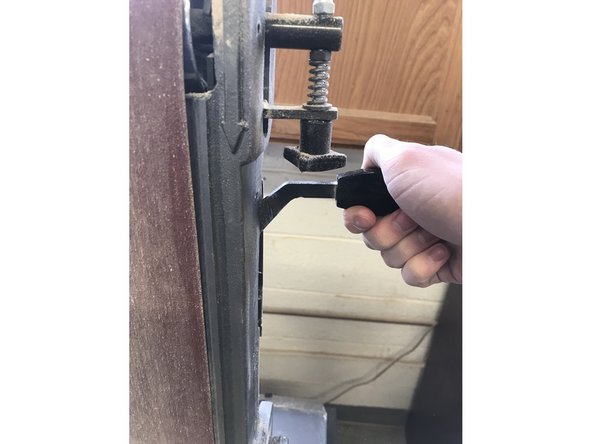
When doing maintenance on a machine, it is always important to make sure the machine is off and unplugged, to reduce risk while working on it.
-
Locate the switch on the left hand side of the machine, and ensure that the machine is off.
-
Unplug the machine from the wall outlet.
-
-
-
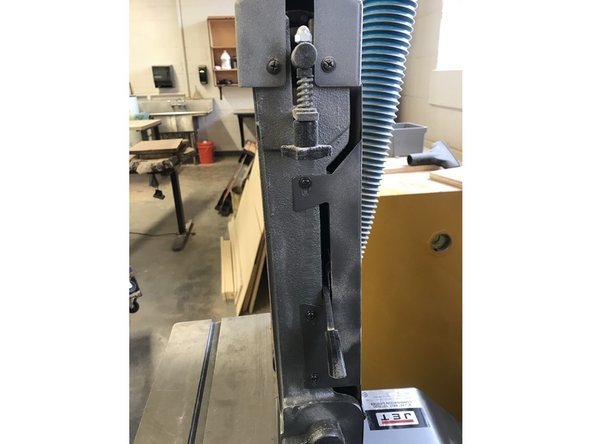
Remove the four screws on the top guard.
-
Pull the guard off of the machine.
-
-
-
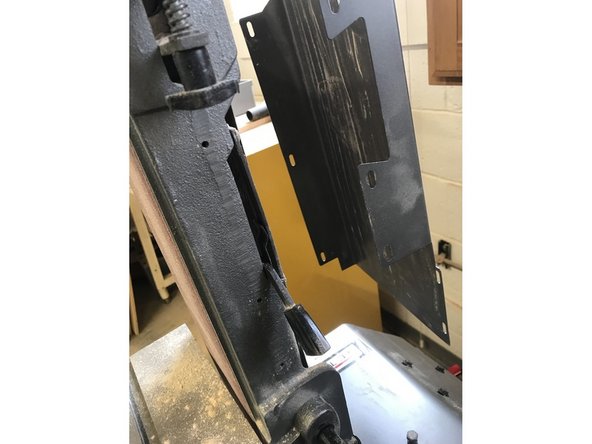
Remove the back guard off the machine by undoing the screws. There are a total of 8 screws attaching this piece, so make sure you get them all off before you try to pull the guard off.
-
Once all screws are removed, pull the guard off the back of the machine.
-
-
-
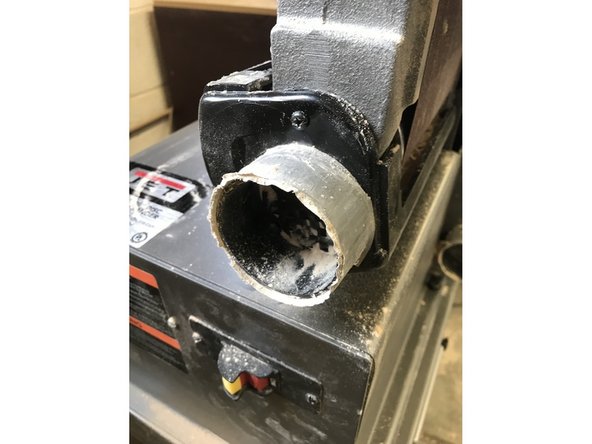
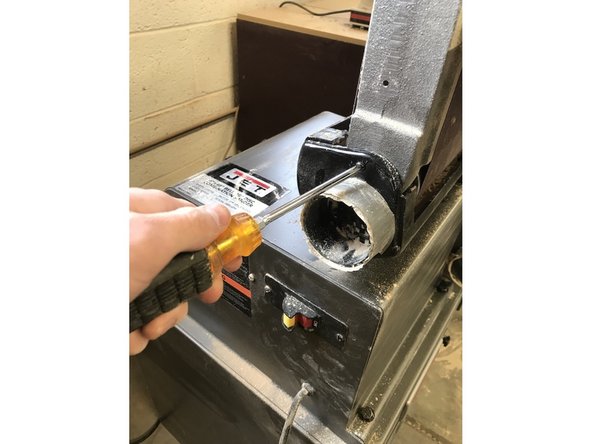
There is a single screw on the dust port. Remove this to slide it off the machine.
-
-
-
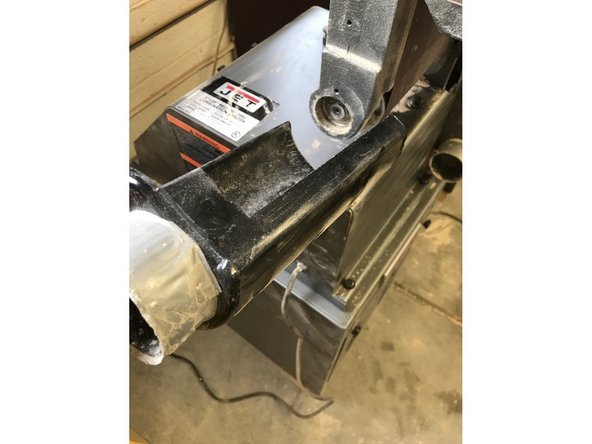
On the right hand side of the machine is a lever. Move it upward to reduce tension on the belt so it can slide off.
-
-
-
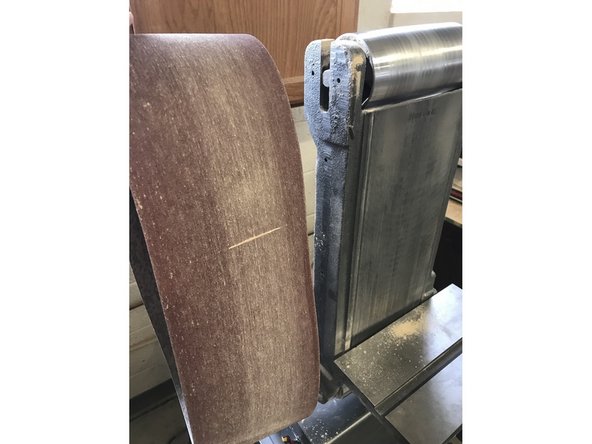
Pull the old belt off the machine. This belt can be thrown in the trash.
-
-
-
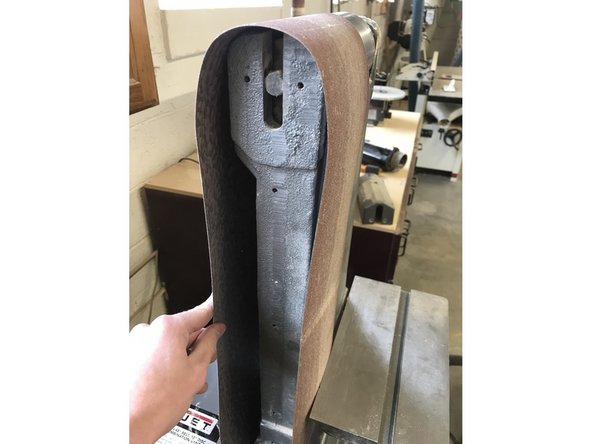
The new belt can slide on where the old one was. Once this is done, make sure to re-tension the belt by pulling the lever down.
-
-
-
Plug the machine in and turn it on.
-
Make sure the belt is spinning squarely on the track, and not sliding off to one side.
-
If the belt is sliding, you made need to reduce tension again, and adjust the belt until it sits straight.
-


You have now learned how to replace belts on the belt/disc sander.
You have now learned how to replace belts on the belt/disc sander.