-
-
How does it work? In essence a blade is just a wedge. It allows us to concentrate a large amount of force into a tiny space.
-
The narrower the cutting face of the blade is, the more force is concentrated into the area. As an example, if you put a 1 lb weight on a one inch cube that cube will have a force area of 1 psi. If you put the same weight on a .1” cube it will be 10 psi, if you put it on a .01” cube you get 100 psi, etc.
-
When you think about a knife the edge is so thin you cant really see it with a naked eye, its tiny so any reduction of the edges area is going to result in huge changes of pressure at the cut.
-
The photo is an electron microscope view of steel as it is sharpened, starting with a coarse grit and getting finer. The fourth photo illustrates the wire edge often left behind.
-
-
-
Blade thickness makes a big difference, the thicker the blade the more the wedge has to open up the cut for it to pass through. Think of a razor blade, they are very thin and this helps them cut easily. The same goes for the angle at which the blade is sharpened, the more shallow the angle the more leverage the operator will have to widen the cut.
-
-
-
Inclusive angle: The sum of the angles of both sides of an edge.
-
Grit: This is the number of cutting particles per square inch of abrasive surface. The lower the grit number the larger the particle.
-
Bevel: The portion of the tool which has has had material removed to make an angle less than 90°
-
Burr: A raised edge on a metal part. In the case of sharpening this will raise on the side opposite of what you are abrading. Also refereed to as wire edge
-
Stone: I will use this term broadly to describe the sharpening surface. This could be sandpaper on a lapping plate, a diamond coated plate, or a natural or synthetic sharpening stone.
-
Lapping plate: A piece of material with a machined or known flattness of 0.001” or better. Polished granite and plate glass are common for lapping plates.
-
Water stone vs Whetstone: Whetstones use oil as the lubricant and to lift the metal particulate from the surface to prevent clogging. A water stone uses water for this task. Oil can permanently ruin a water stone! If you are using both types clean the blade and jig when switching between them. You will destroy the stone quickly without it.
-
Never leave a blade wet! Most blade making steels are high carbon low nickel, it will flash rust in a second, dry the blade when you are done sharpening with water.
-
-
-
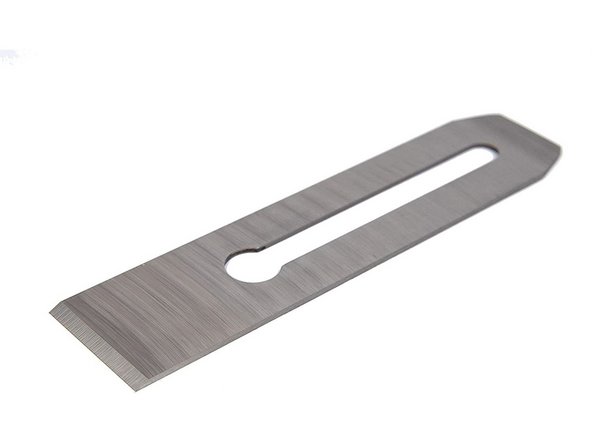
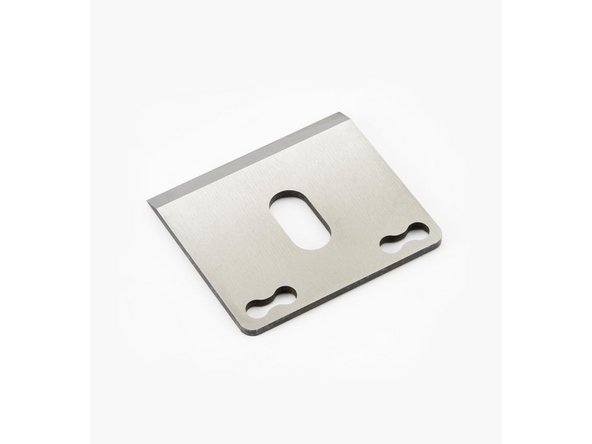
Sharpening techniques for these are largely the same so I will only demonstrate chisels. But the same jig, stones and techniques are used for all three.
-
Determining sharpening angle Most of these tools will be sharpened at an inclusive angle between 25° and 35°. Tools that will be used for fine detail work and largely by hand may be as steep as 20°.
-
Tools that require a lot of durability, or will be used exclusively with a mallet will be 35°. In my case I only sharpen dedicated dovetail and carving chisels to 25°, plane irons, spokeshaves and general purpose chisels go to 30° and mortising chisels get 35°.
-
-
-
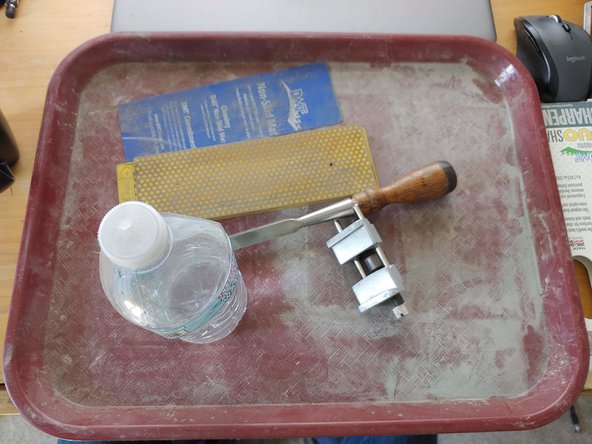
A place to work: I use a cafeteria tray I bought at a restaraunt supply place for this. It gives me a way to contain the water and grit that comes from sharpening. I set it on a bench that is a comfortable height to sit at or stand and get good leverage and body movement.
-
Water: I use water stones and diamond stones exclusively when I sharpen. If you are using whetstones you will need cutting oil instead. A spray bottle is nice but I just use a disposable water bottle with holes poked in the lid.
-
Something to soak waterstones in if you are using them, the need to soak for at least 10 minutes before use, i keep mine in a plastic box submerged all the time.
-
A tool to sharpen: If you are first starting out a 1/2” chisel is a great place to start. It is wide enough to be stable, but narrow enough to go fairly quickly so you won’t end up discouraged.
-
Stone(s): If you have read the tool buying guide you will see I recommend a 2 sided DMT to start with. If you can afford it also grab a combination 3000/8000 grit water stone. It isn’t completely neccasary but it will give you a better edge and that can help make handwork easier.
-
Small rubber mat to keep the stone from moving around. The DMT stone includes on of these. You can also use cabinet liner mat or a stone holder if you prefer.
-
Sharpening jig This is really non-negotiable when starting out. Chisels can be free hand sharpened but it takes a lot of practice and it’s difficult to get everything square, flat and consistant without the jig. The one pictured is $12, you can buy nicer ones but this works fine.
-
-
-
Flatten your stones: If you are using water or whetstones they will need to be flattened (especially if brand new). This is accomplished by setting sandpaper on a lapping plate, adding lubricant and rubbing the stone against it until flat.
-
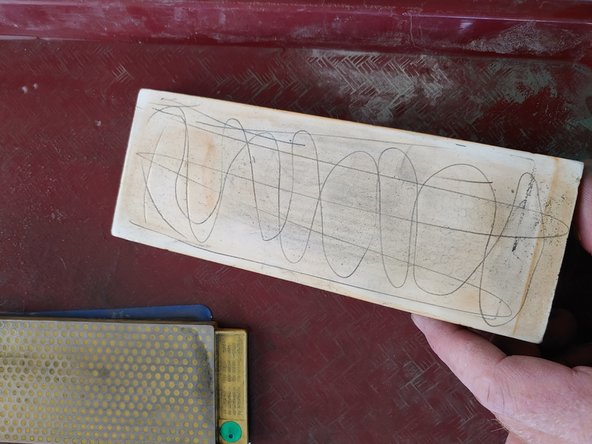
Scribble some marks on the stone with a pencil, this will show you high and low spots. This is a critical step, if you are hand planing a board and the plane blade isn’t flat, the board wont be flat, so the stone must be flat! Diamond stones cannot be flattened, but quality ones will be flat from the factory.
-
-
-
This will be the most monotonous and time consuming step. It is also the most critical step to a good final result. If the back of the tool is not flat the blade will always have curvature to its edge.
-
Brand new chisels will not be flat on the back!!! The good news is it only has to be done once! Use coarse grits to start, if you are using sandpaper you can go as coarse as 220, if you are using stones use the coarsest one you have. You only need to flatten the first inch or so of the back, more is fine but takes time.
-
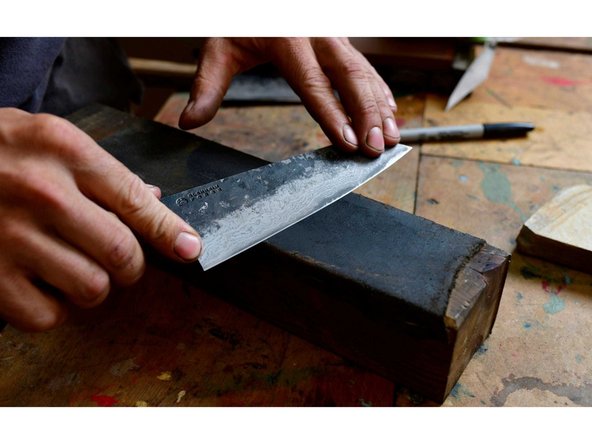
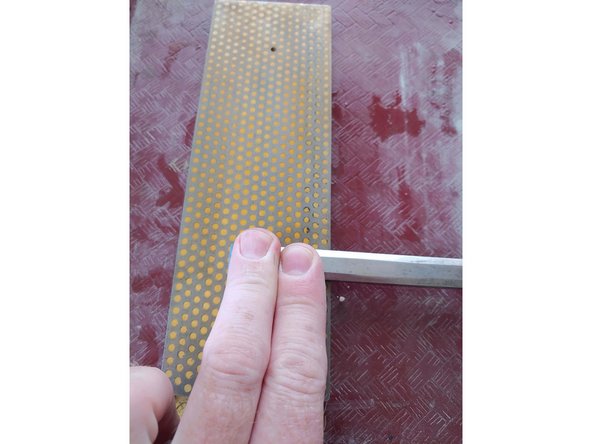
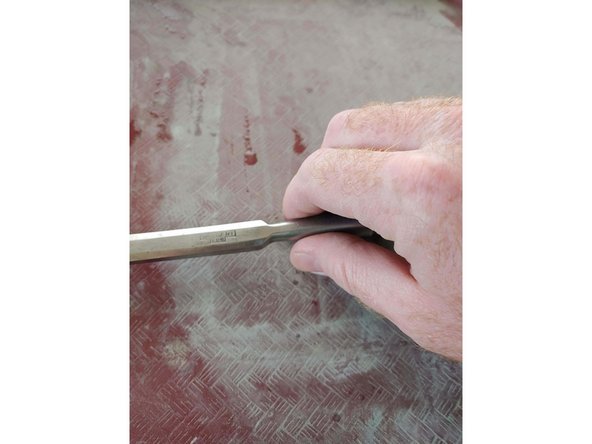
Use even pressure against the back of the blade with your off hand. Dont apply any pressure to the bevel as you can actually slightly deform the edge. Use your primary hand to push the blade back and forth, but don’t apply downward pressure. (see photos)
-
Once you have a good feel for whats going on you can find what grip works most comfortably for you. Occasionally rotate the stone 180° and try to use as much of the surface as possible to prevent uneven wear.
-
-
-
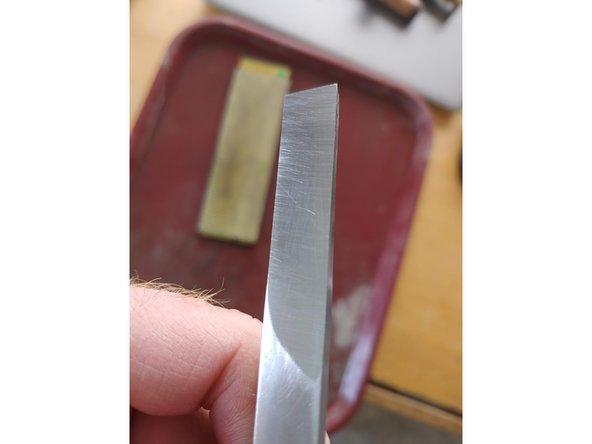
Check the progress in raking light: Hold the blade angled away from you and twist it in the light. You will be able to see your new coarse scratches from the old surface finish.
-
Don’t change grits until you are certain the back is completely flat. Changing grits too soon will just make you come back to the coarse one and you will have wasted the work at the next stone.
-
Don’t get to discouraged, this chisel took me about 40 minutes to get through the first grit... but I will never have to do it again. Rinse the blade and stone between grits to prevent transfer.
-
Once you are ready to change grits do a dozen or so passes with the blade turned 90° to what you have been doing. This will give you a scratch pattern that will show through when you are working on the next grit.
-
The second grit should go fast: all you are trying to accomplish is complete removal of the scratches from the coarser grit. Always finish with some scratch marks at 90°, it’s quick and easy from here out!
-
Take it out to the finest grit you have available: The more polished the edge is the sharper it will be and the better it will be at retaining that edge. Once you hit about 8000 grit there are few gains to be made.
-
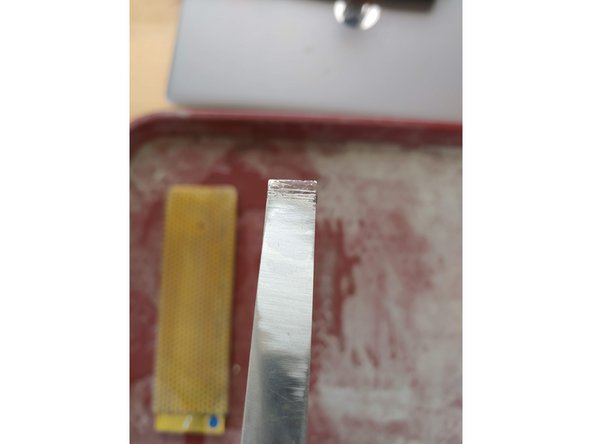
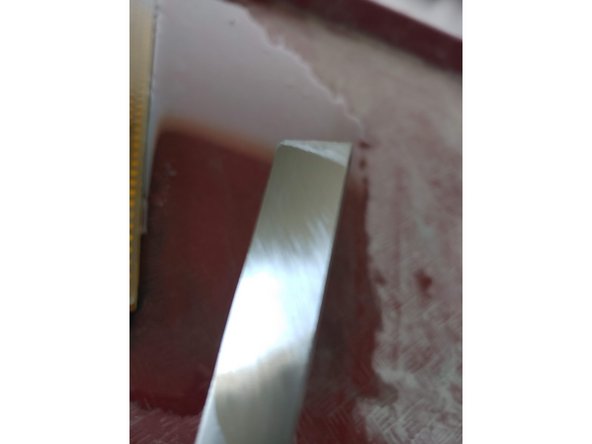
Photos: Progressing through flattening the back of a 1/2" chisel.
-
-
-
Flatten your stones: I know you just flattened them, but they will need to be flattened again. Mark them and re-flatten.
-
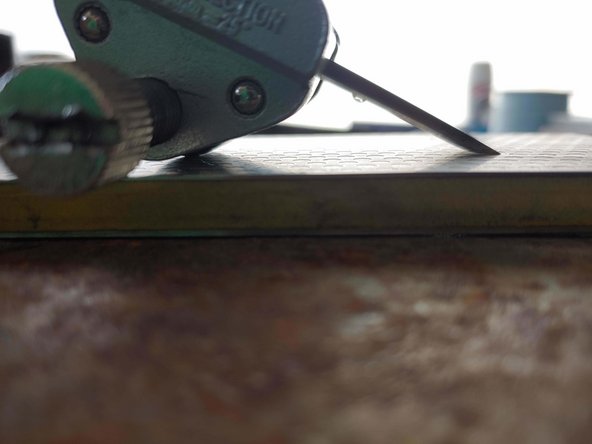
Set the bevel angle in the jig. Do this by gently tightening the jig on the blade, then put it on the lapping plate or a stone. Move the blade back and forth until the bevel sits flat on the plate. Make a few passes on your coarse stone and inspect the scratch pattern to determine if further adjustments need to be made. (images 1 and 2)
-
Work through the grits the same as you did when you flattened the back. Make sure you rinse the jig and the blade between grits (dont remove the blade from the jig!) so you don’t transfer the coarser grit over to the other side of the stone.
-
Knock off the burr: in most cases a burr will form on the back of the chisel. Once you have completed your grits flatten the back on the finest grit available one last time, it should only take a couple of strokes.
-
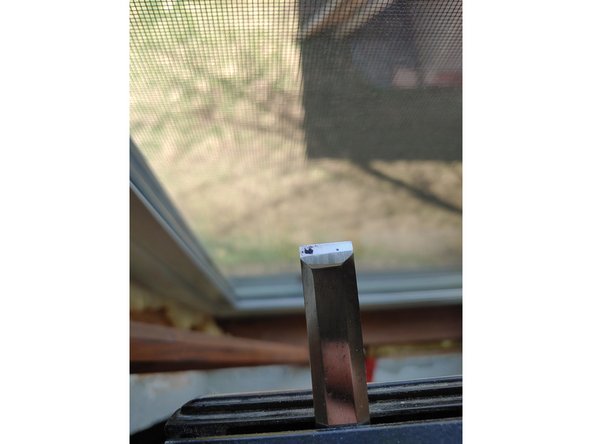
Your tool will now have a mirror polished razors edge: enjoy and respect it! (photo 3)
-