Introduction
Learn 3D Printing Basics!
If you have questions, ask a facilitator.
Steps:
1) Prepare you model.
2) Setup your print.
3) Removing your print.
-
-
Find and download a file from thingiverse. Click here for alternative sites.
-
Click Download. A .ZIP file will be downloaded.
-
Select your file from the download bar and press "Show in Folder".
-
Open the file and press "Extract All".
-
Find the .STL model from the Download File.
-
If you made your own thing, save as a .STL
-
-
-
We use Simplify3D as our slicer.
-
CLICK HERE to learn how to use Simplify3D.
-
-
-
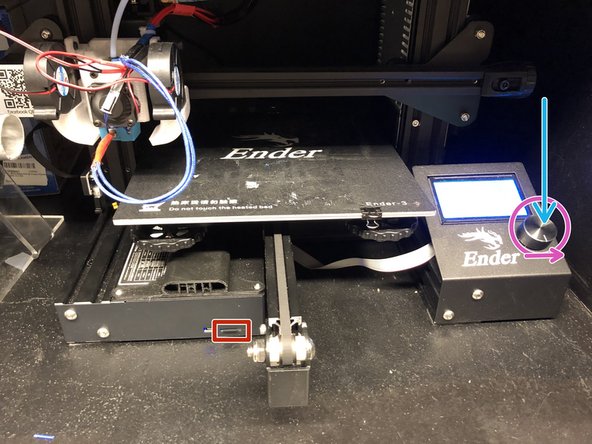
microSD Slot.
-
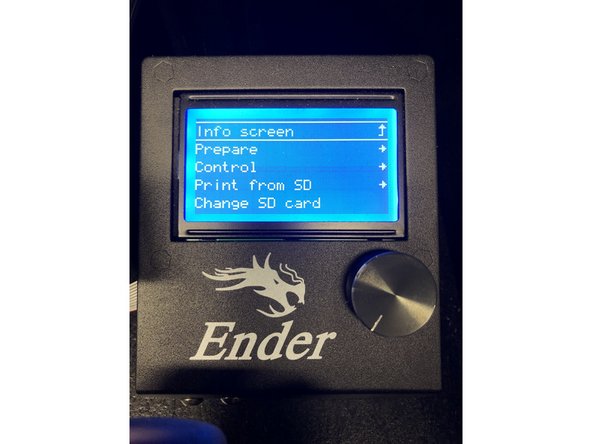
Firmly press on knob to select.
-
Rotate knob to move through options.
-
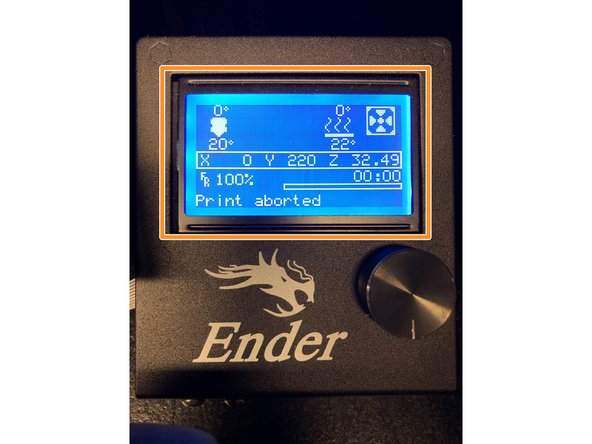
Home Screen
-
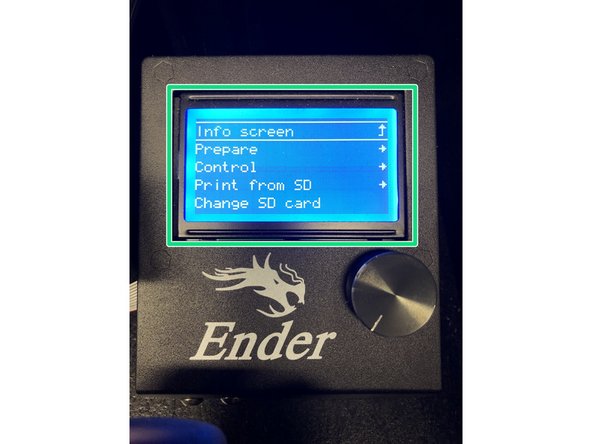
Main Menu
-
To go backward in the menu selection, go to the top of that menu and press the knob.
-
-
-
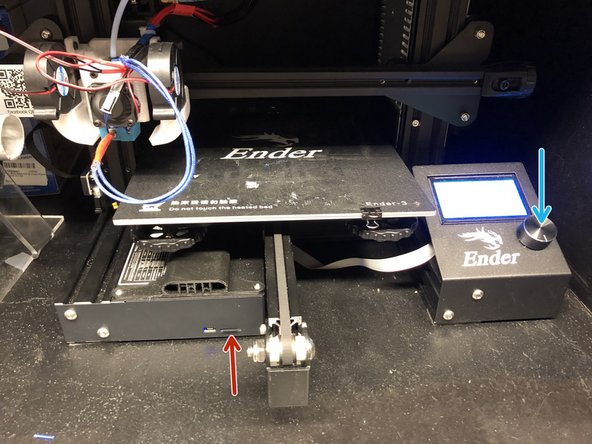
Insert microSD into Slot
-
Press the knob to go into the Main Menu.
-
Rotate knob and select Print from SD
-
Rotate knob and select Refresh
-
Rotate know and select your file
-
If the file has a ~ in the name, the file is corrupt. Resave the file on the SD card.
-
-
-
The filament needs to heat up before printing. This will take about 15 minutes.
-
Make sure you stick around for the first two layers and make sure there are no problems with your print.
-
If the print isn't sticking or nothing is seems to be coming out, report your problem to a Facilitator
-
If you aren't sure what you're looking for, ASK A FACILITATOR
-
-
-
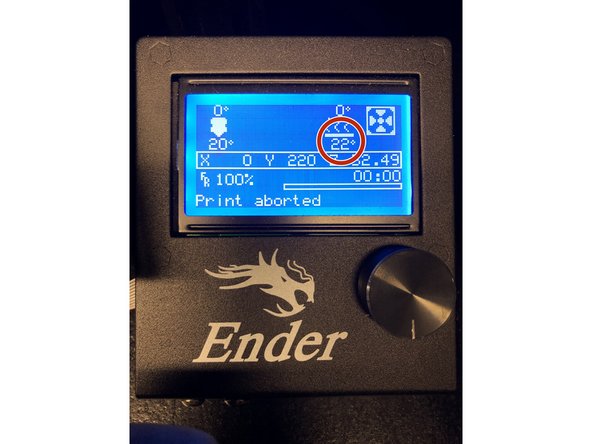
Wait until bed is cool (less than 30ºC).
-
Check Bed Temperature on the Home Screen
-
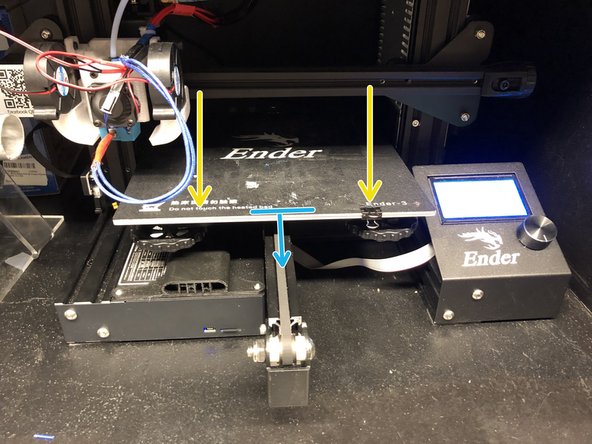
Unclip both clips from the front
-
Remove bed by pulling the top black sheet toward you.
-
Bend the bed and remove print.
-
If the print is still on the bed, use a scraper.
-
This guide should conclude with a a part fully 3D Printed
This guide should conclude with a a part fully 3D Printed
Cancel: I did not complete this guide.
3 other people completed this guide.


